Create an Ansible Workflow
This exercise walks you through building an automation controller workflow in Ansible Automation Platform (AAP) 2.x. A workflow is an end-to-end orchestration that links job templates (and other nodes) into a logical flow with conditional paths.
In our case, the flow will:
- install latest selected Windows Updates
- install IIS (using our advanced role)
- install additional packages (with Chocolatey)
- finally, check Chocolatey facts and configuration
You can also wrap conditional logic (run on success/failure/always) and even add rollback paths if needed. The steps below reflect the AAP 2.5 UI.
Section 1 — Create the Workflow
We’ll create a Workflow Job Template and add our existing job templates as nodes.
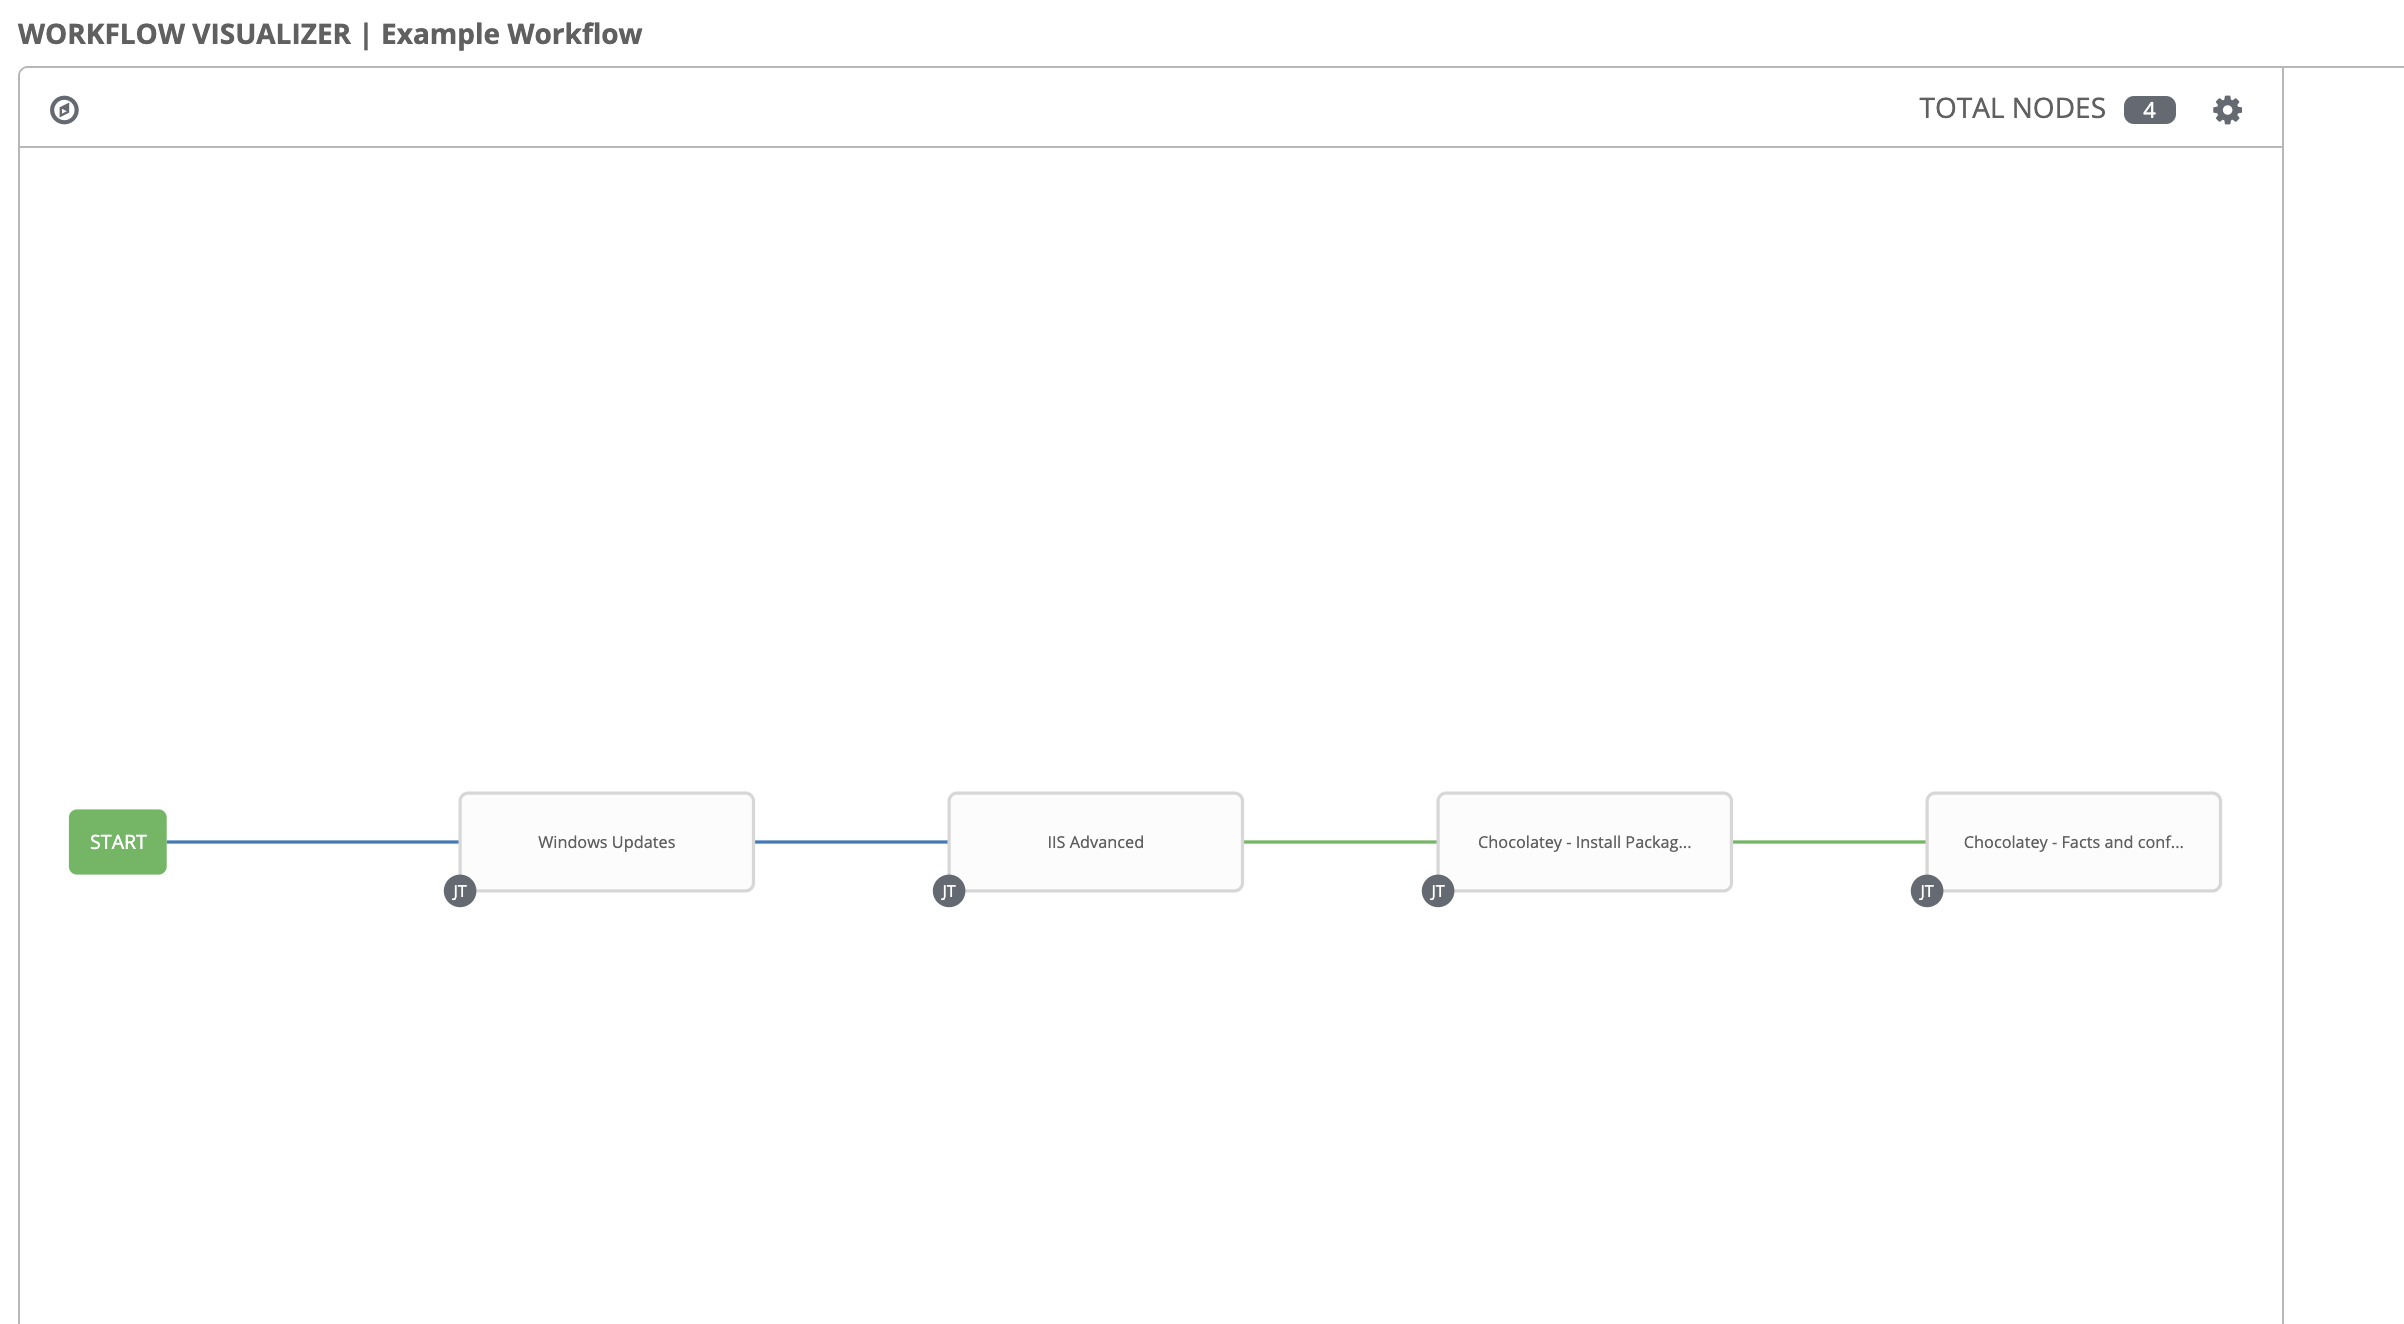
It’ll look like this when finished:
Step 1 — New Workflow Template
-
In the AAP web UI, go to Automation Execution → Templates.
Click Create template and choose Create workflow job template. -
Fill out the form:
| Key | Value | Note |
|---|---|---|
| Name | Example Workflow | |
| Description | End-to-end process | |
| Organization | Default | |
| Inventory | Windows Workshop Inventory | |
| Limit | windows |
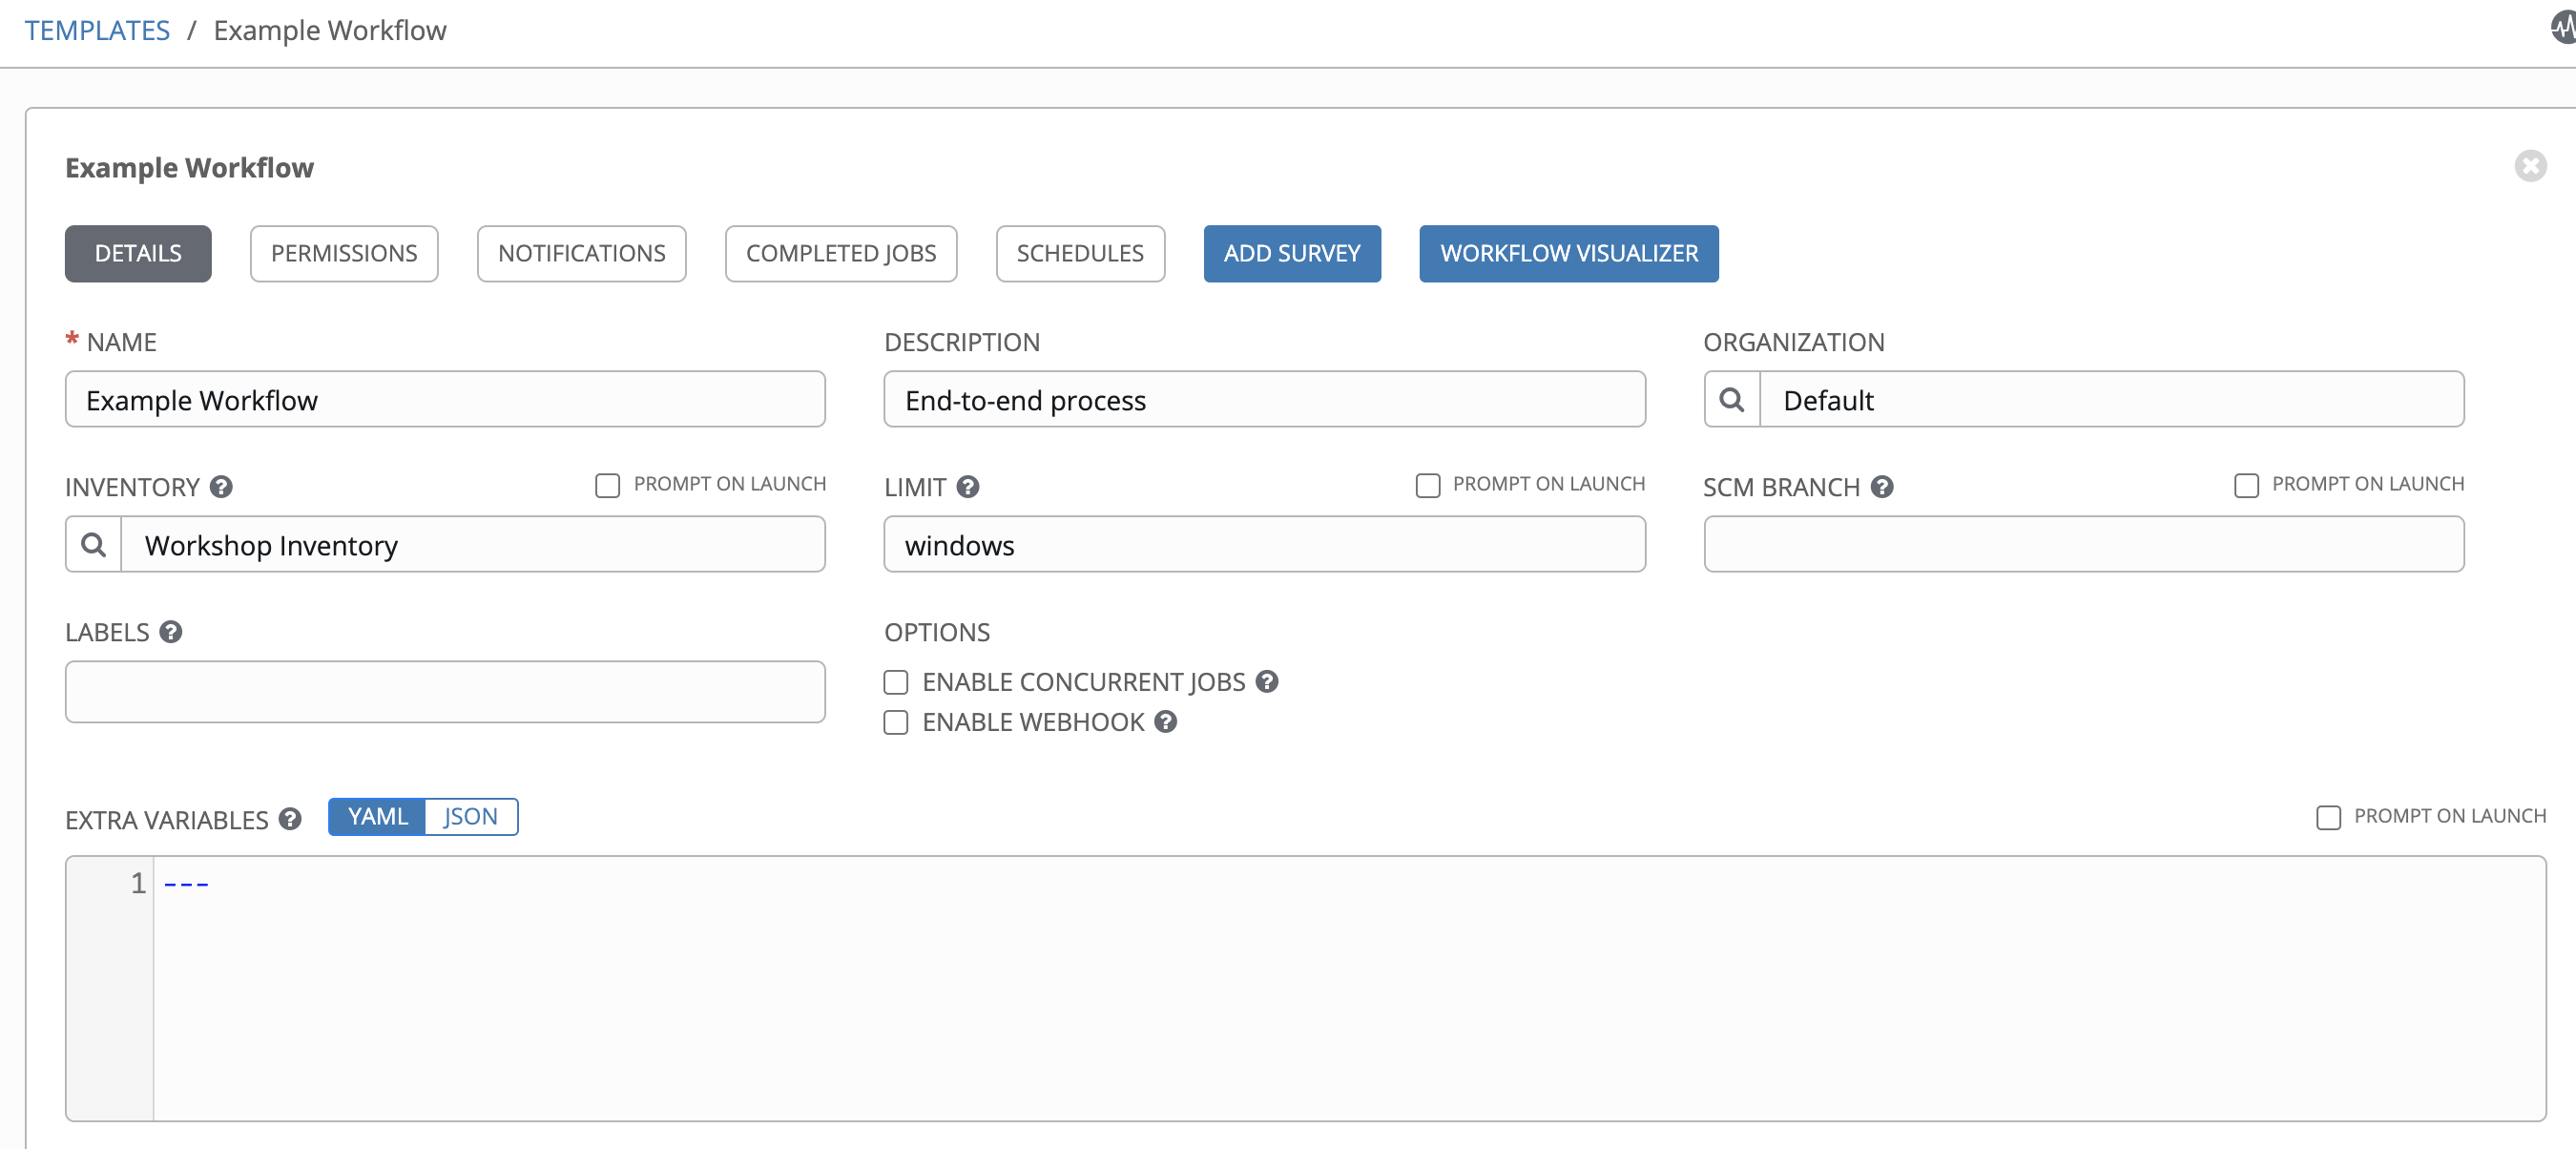
- Click Create workflow job template. You’ll land in the Workflow Visualizer. (If you exit, you can always re-open the visualizer from the template’s Details page.)
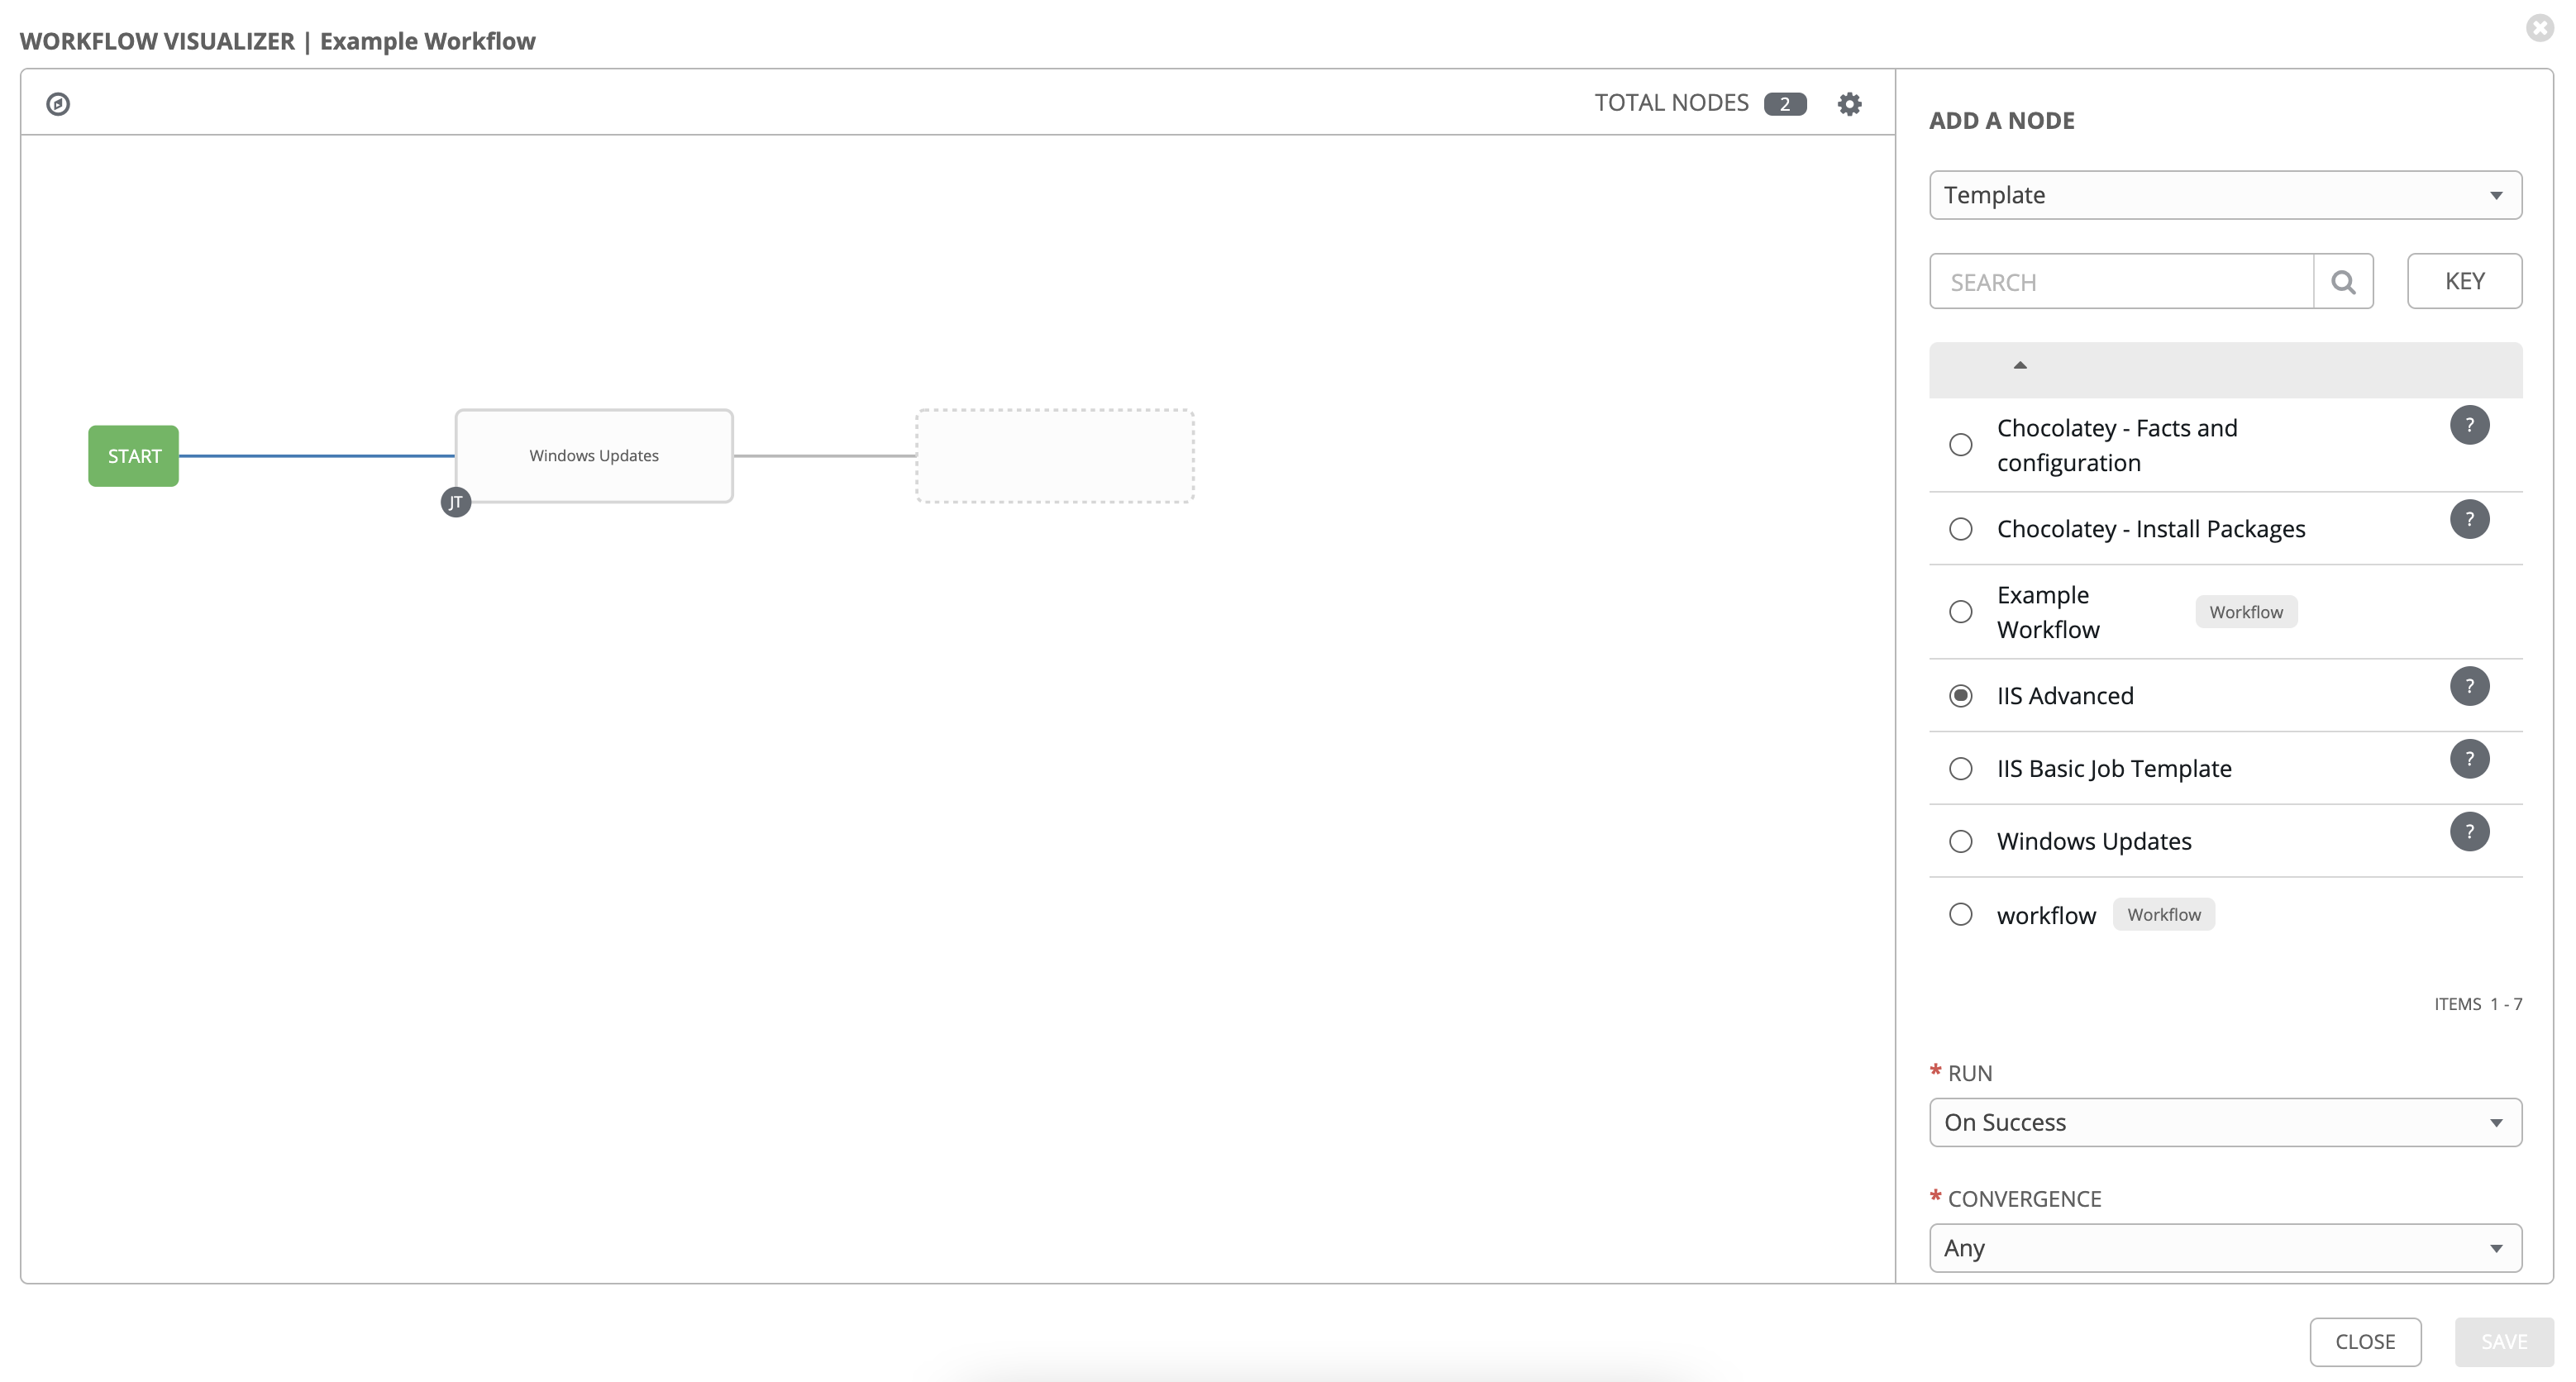
Step 2 — Add the first job template (Windows Updates)
- Click the Add step button, then select the Windows Updates job template from the right panel.
- Set properties:
| Key | Value | Note |
|---|---|---|
| Node Type | Job Template | |
| Job template | Windows Updates | |
| Convergence | Any |
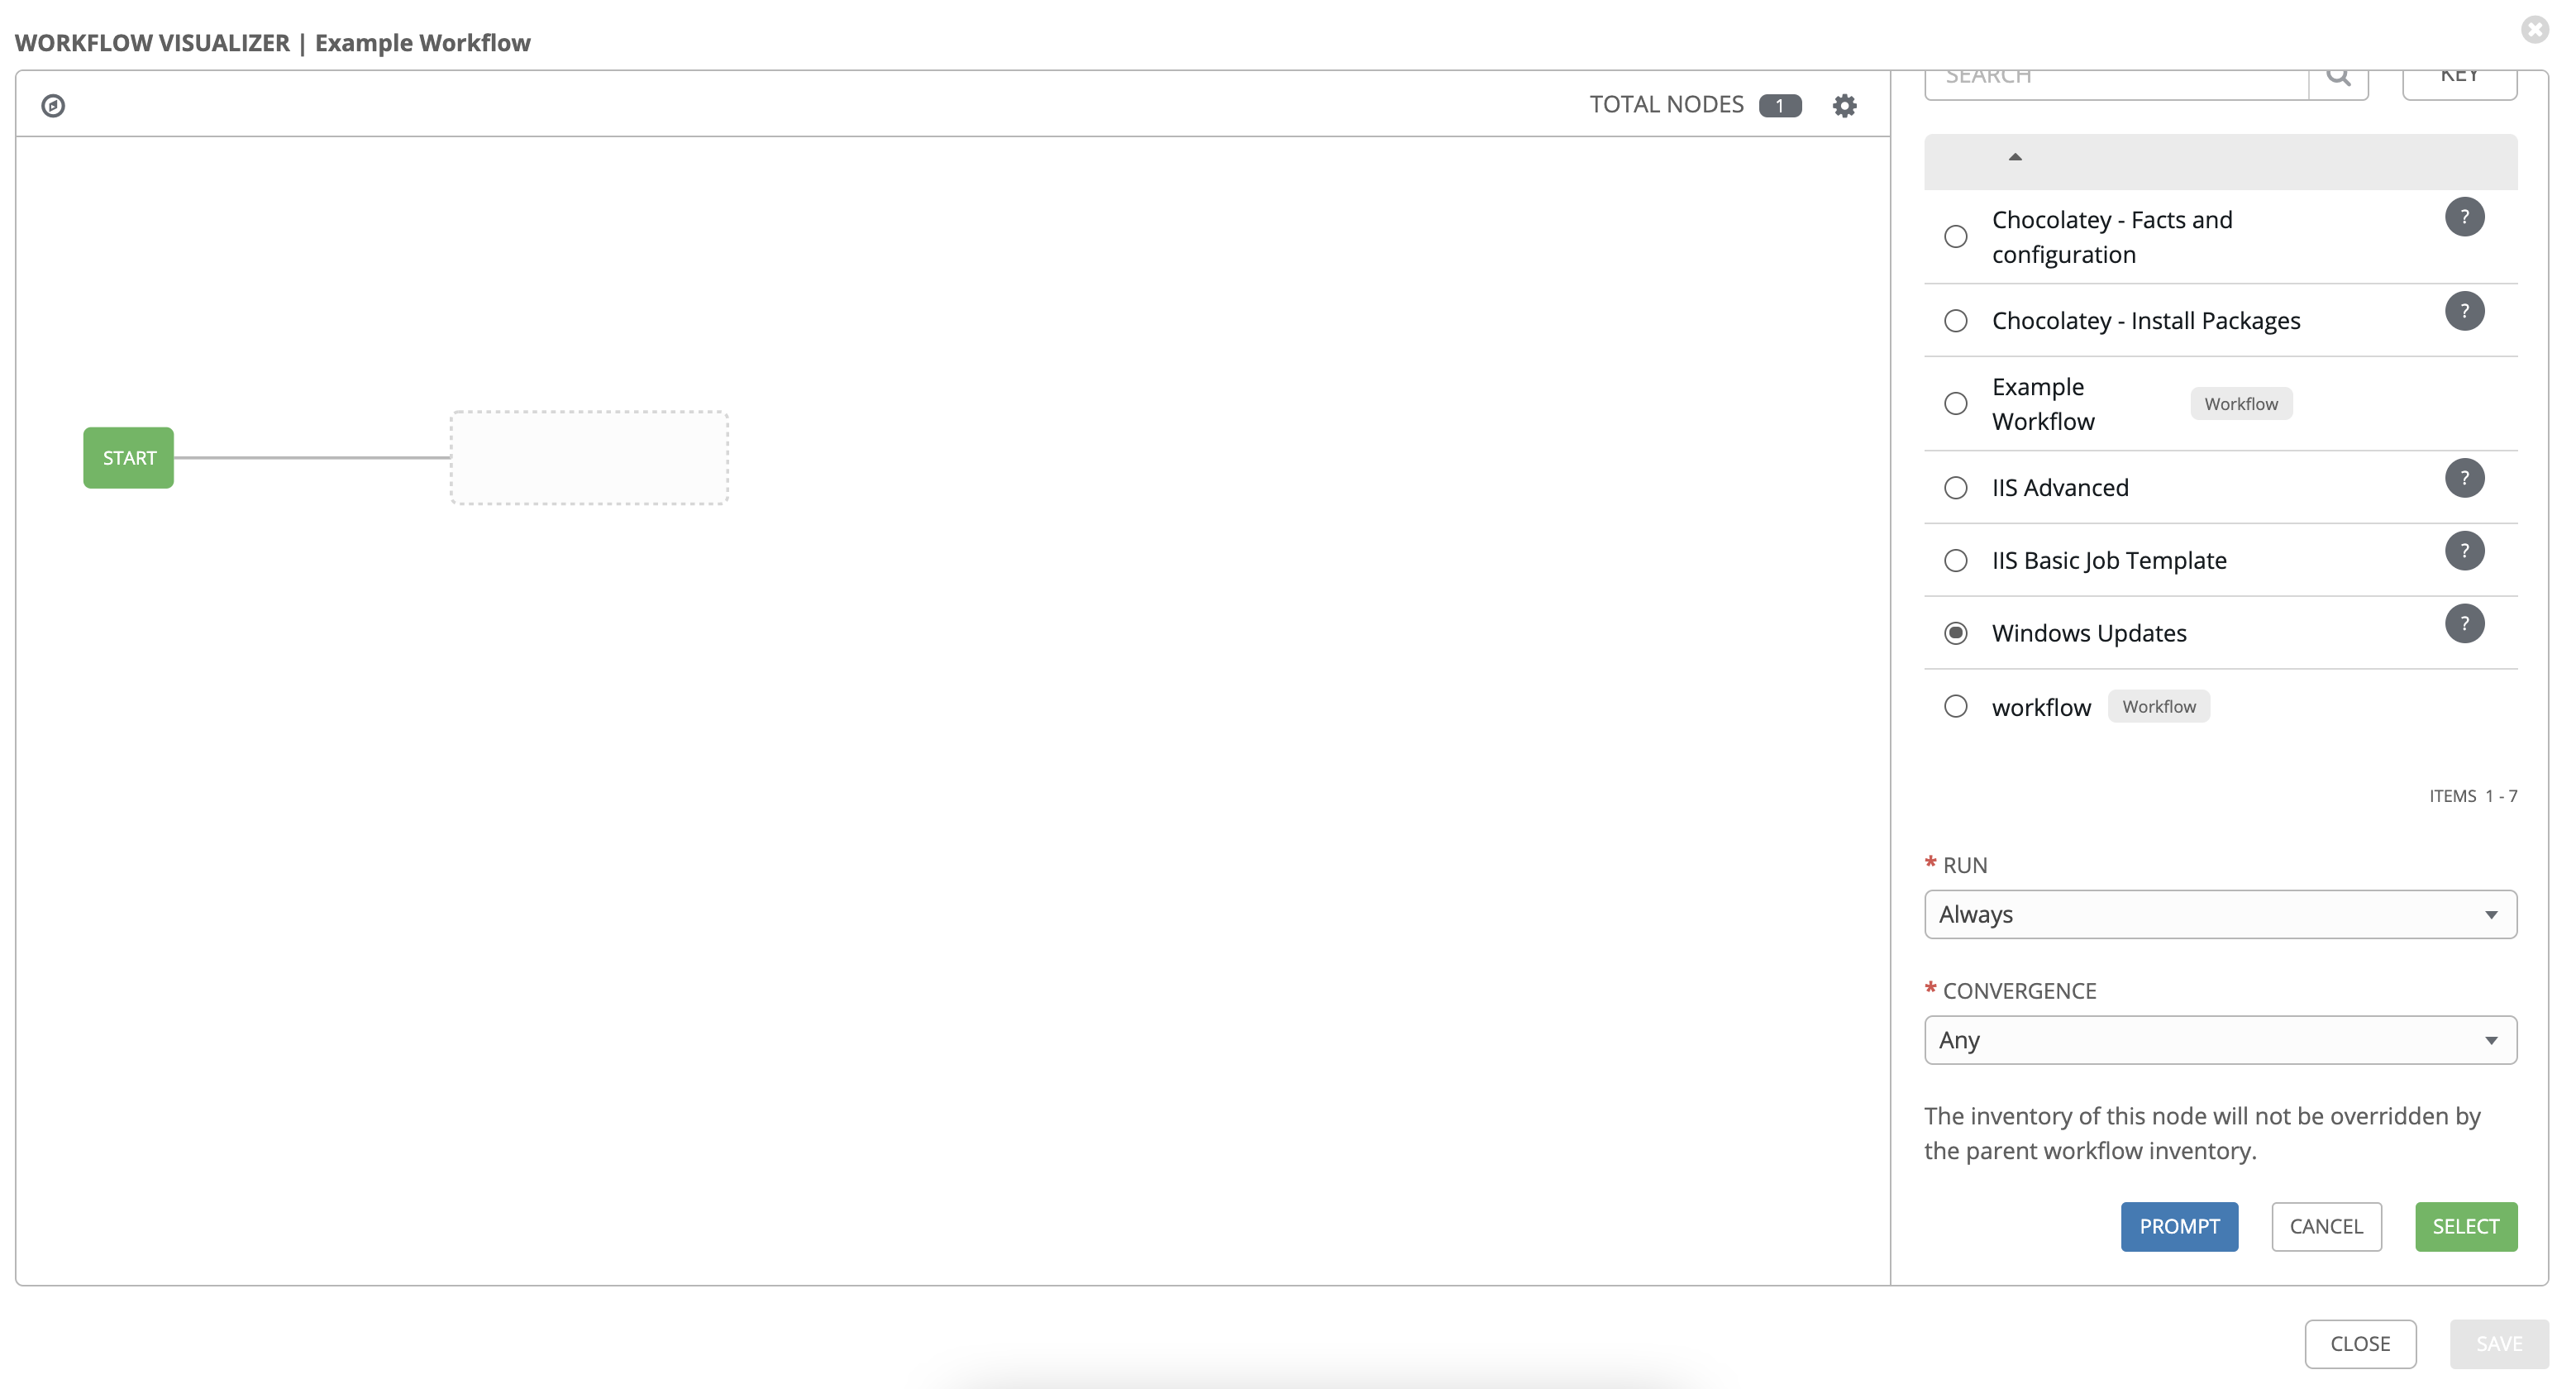
-
Click Next, then Finish.
-
Back in the visualizer, click the 3 dots and select Add Step and link

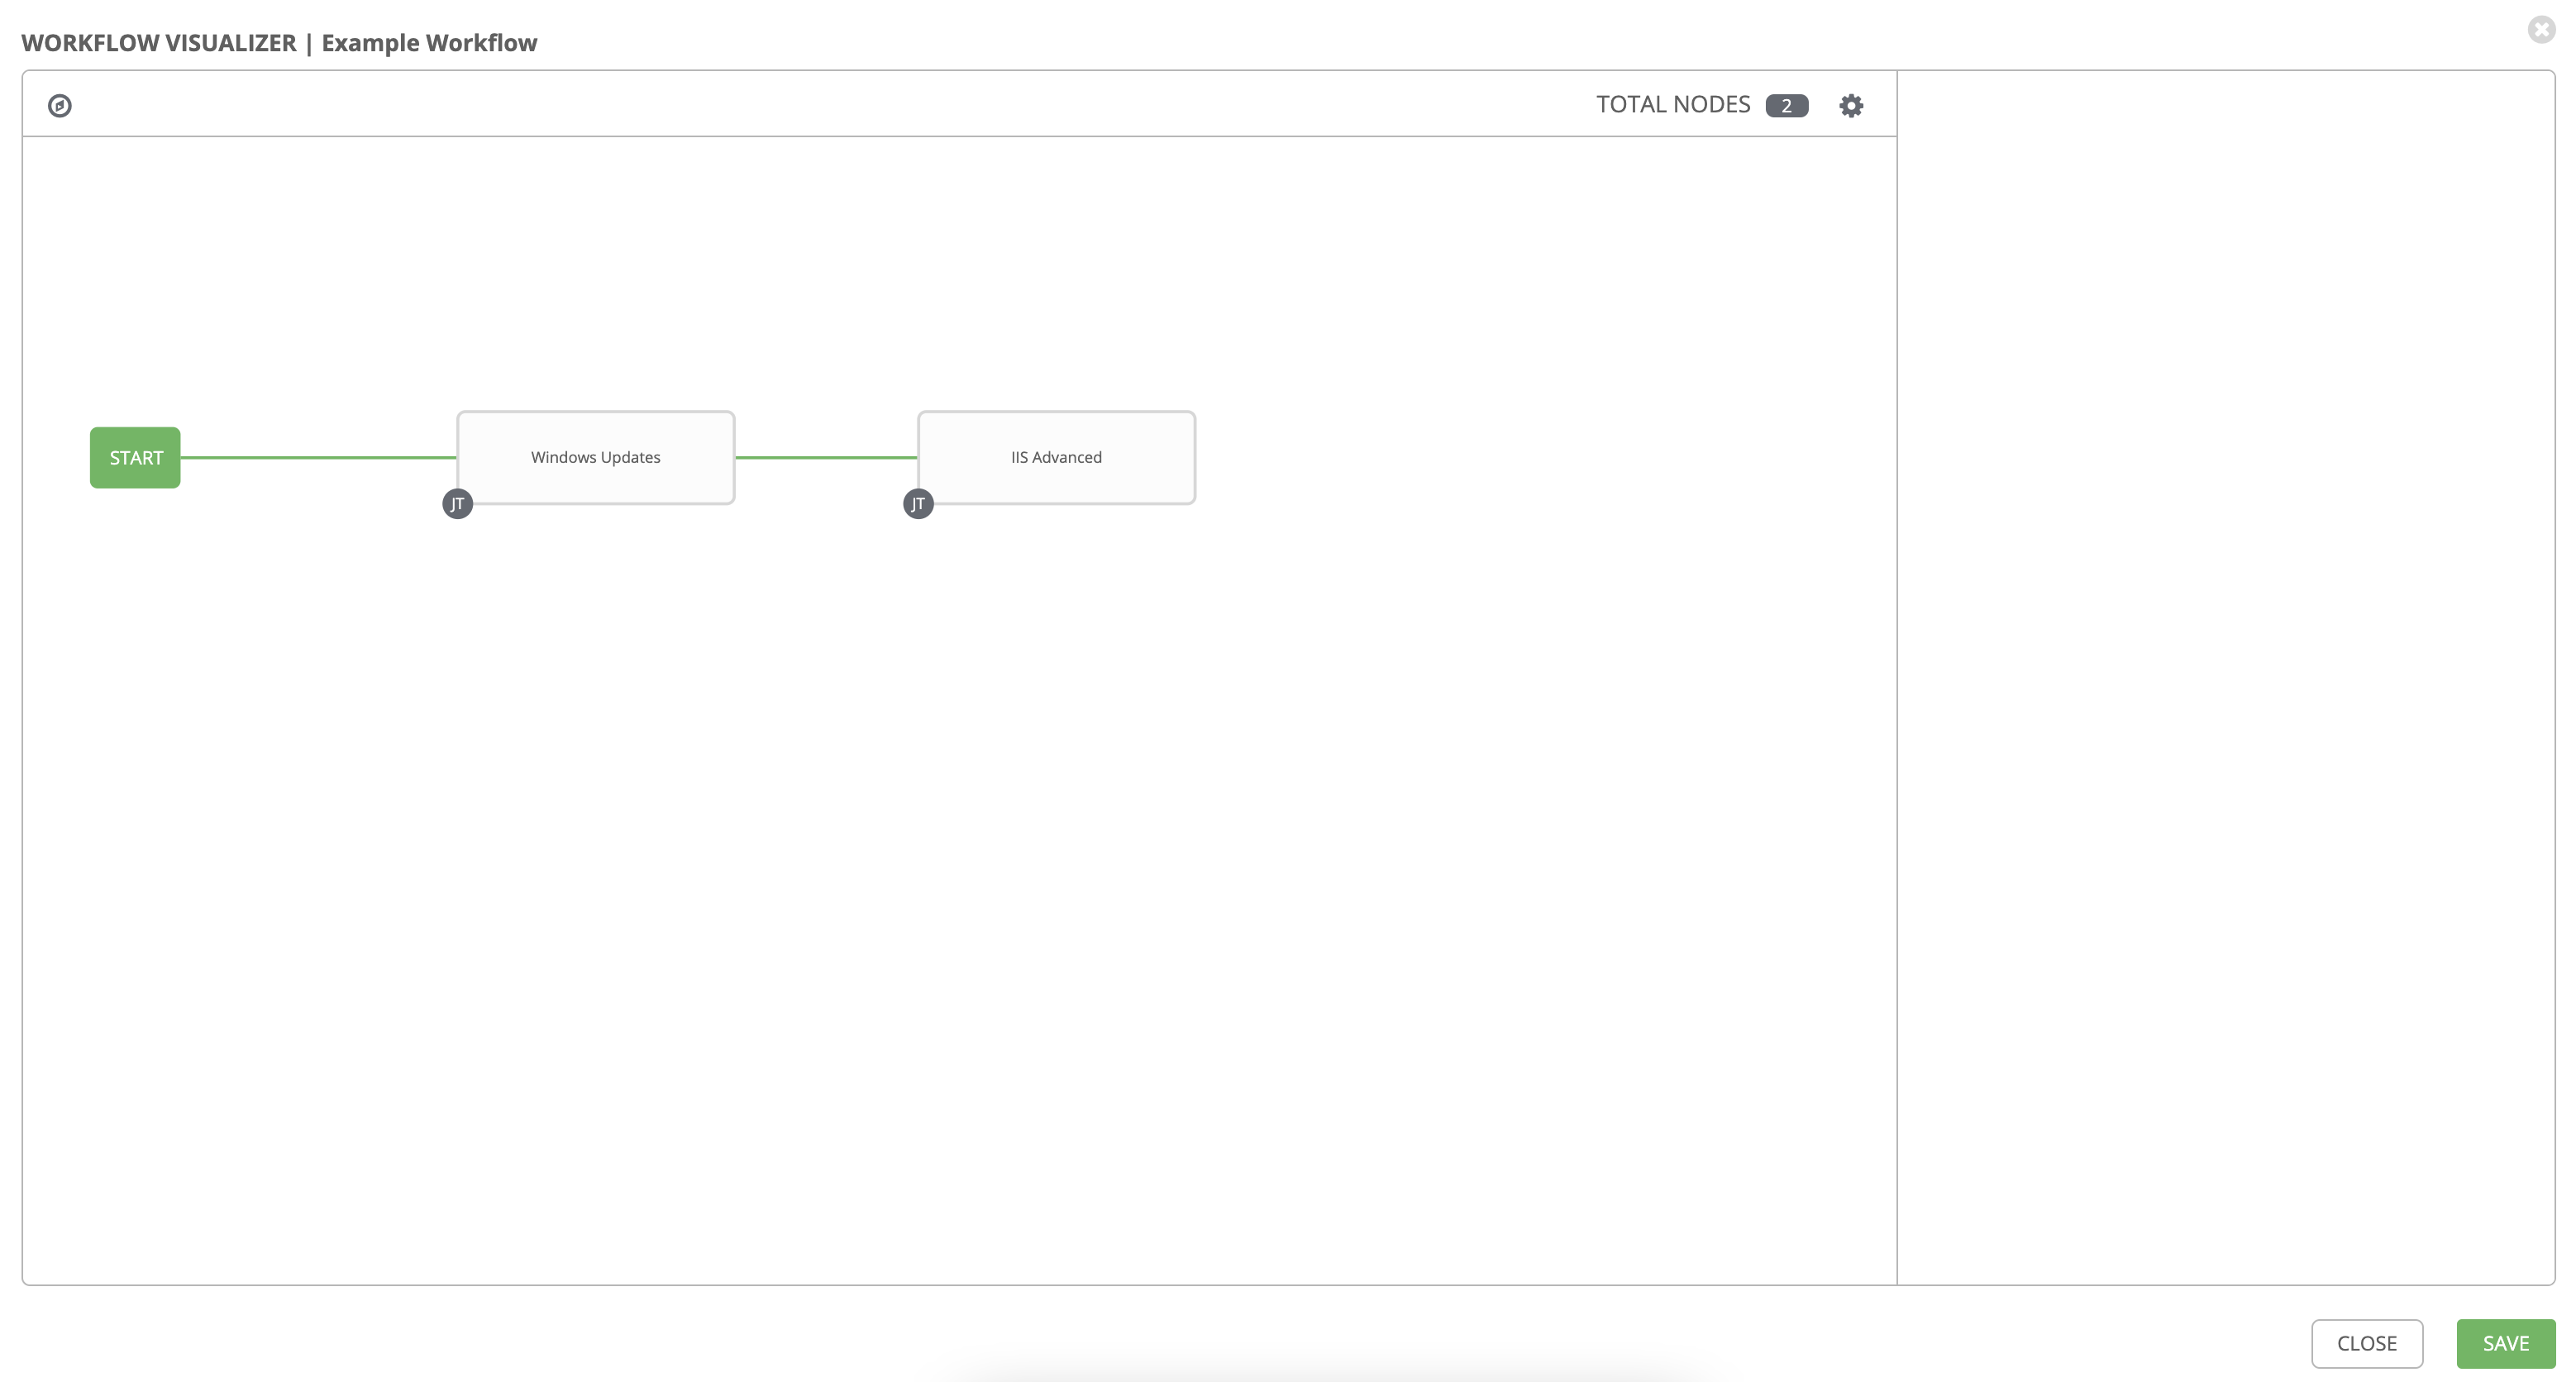
Step 3 — Add the IIS Advanced job template
- Choose IIS Advanced job template.
- Set:
| Key | Value | Note |
|---|---|---|
| Node type | Job Template | |
| Job template | IIS Advanced | |
| Status | Always run | |
| Convergence | Any |
- Click Next → Finish.
At this point, you have a two-stage process: Windows Updates → IIS Advanced, where IIS runs regardless of update outcome. (You can later add notifications for failures.)
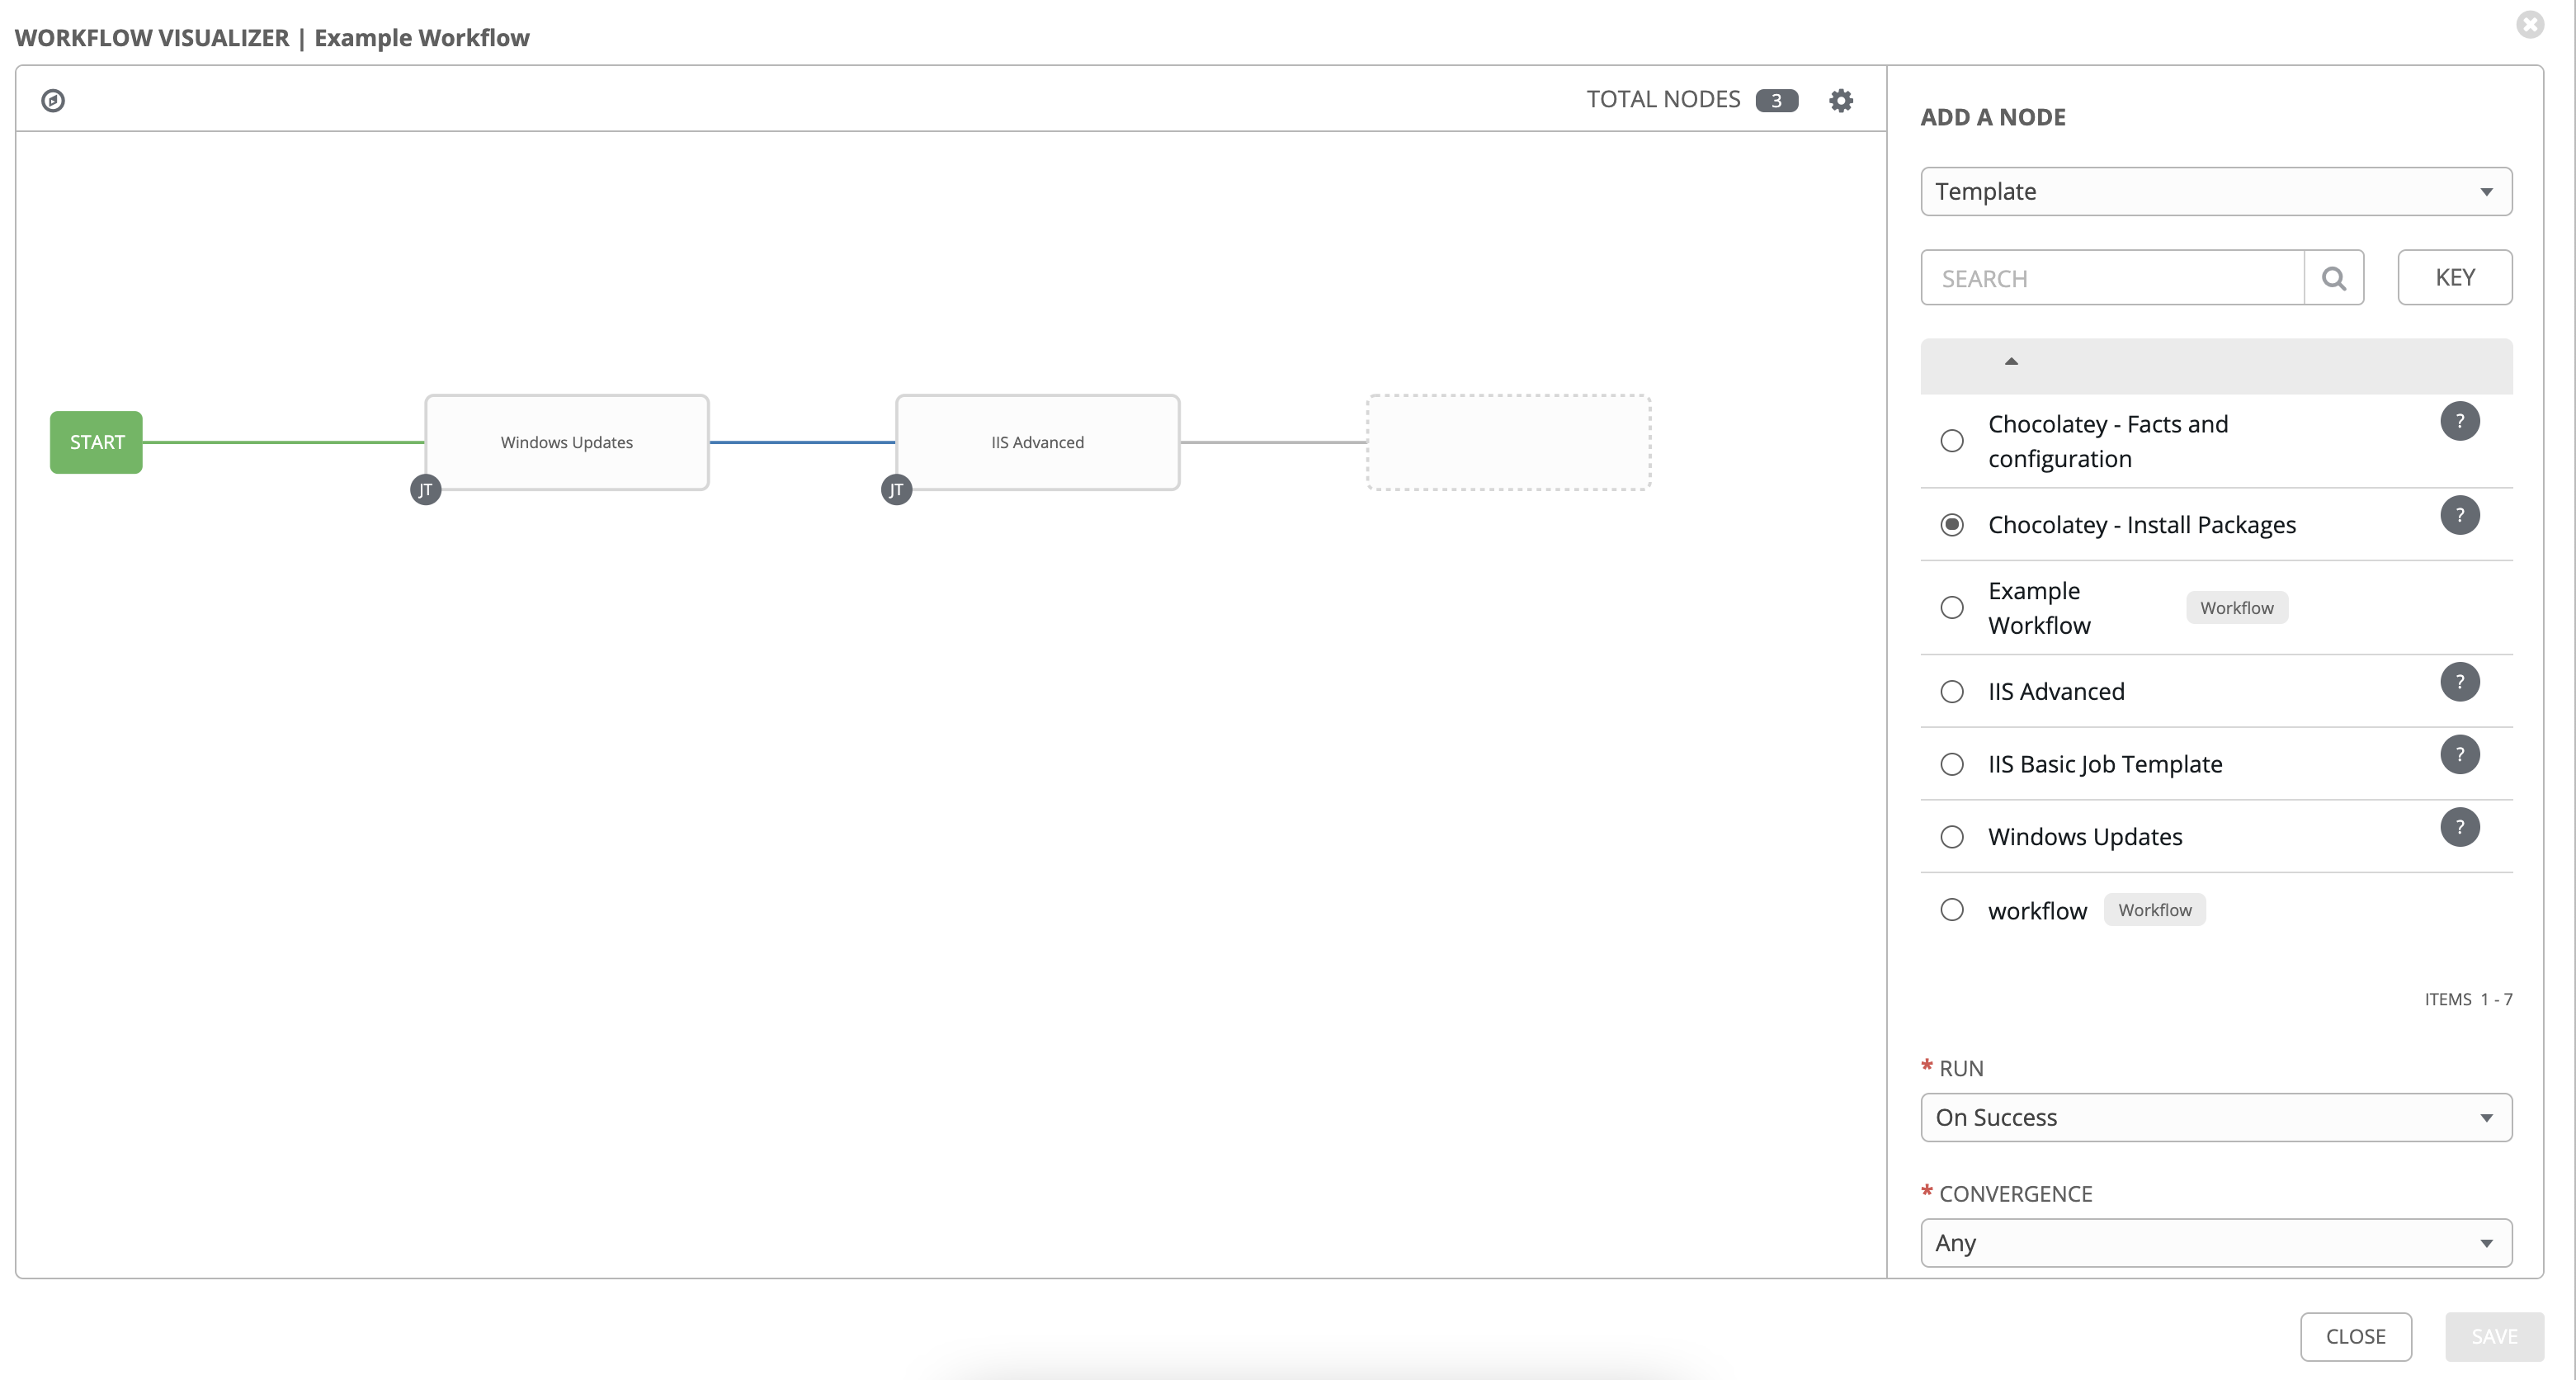
Step 4 — Add Chocolatey steps
- Hover over IIS Advanced, click the 3 dots and select Add step and link, select Chocolatey – Install Packages.
Set:
| Key | Value | Note |
|---|---|---|
| Node type | Job Template | |
| Job template | Chocolatey - Install Packages | |
| Status | Run on success | |
| Convergence | Any |
- Click Next → Finish.
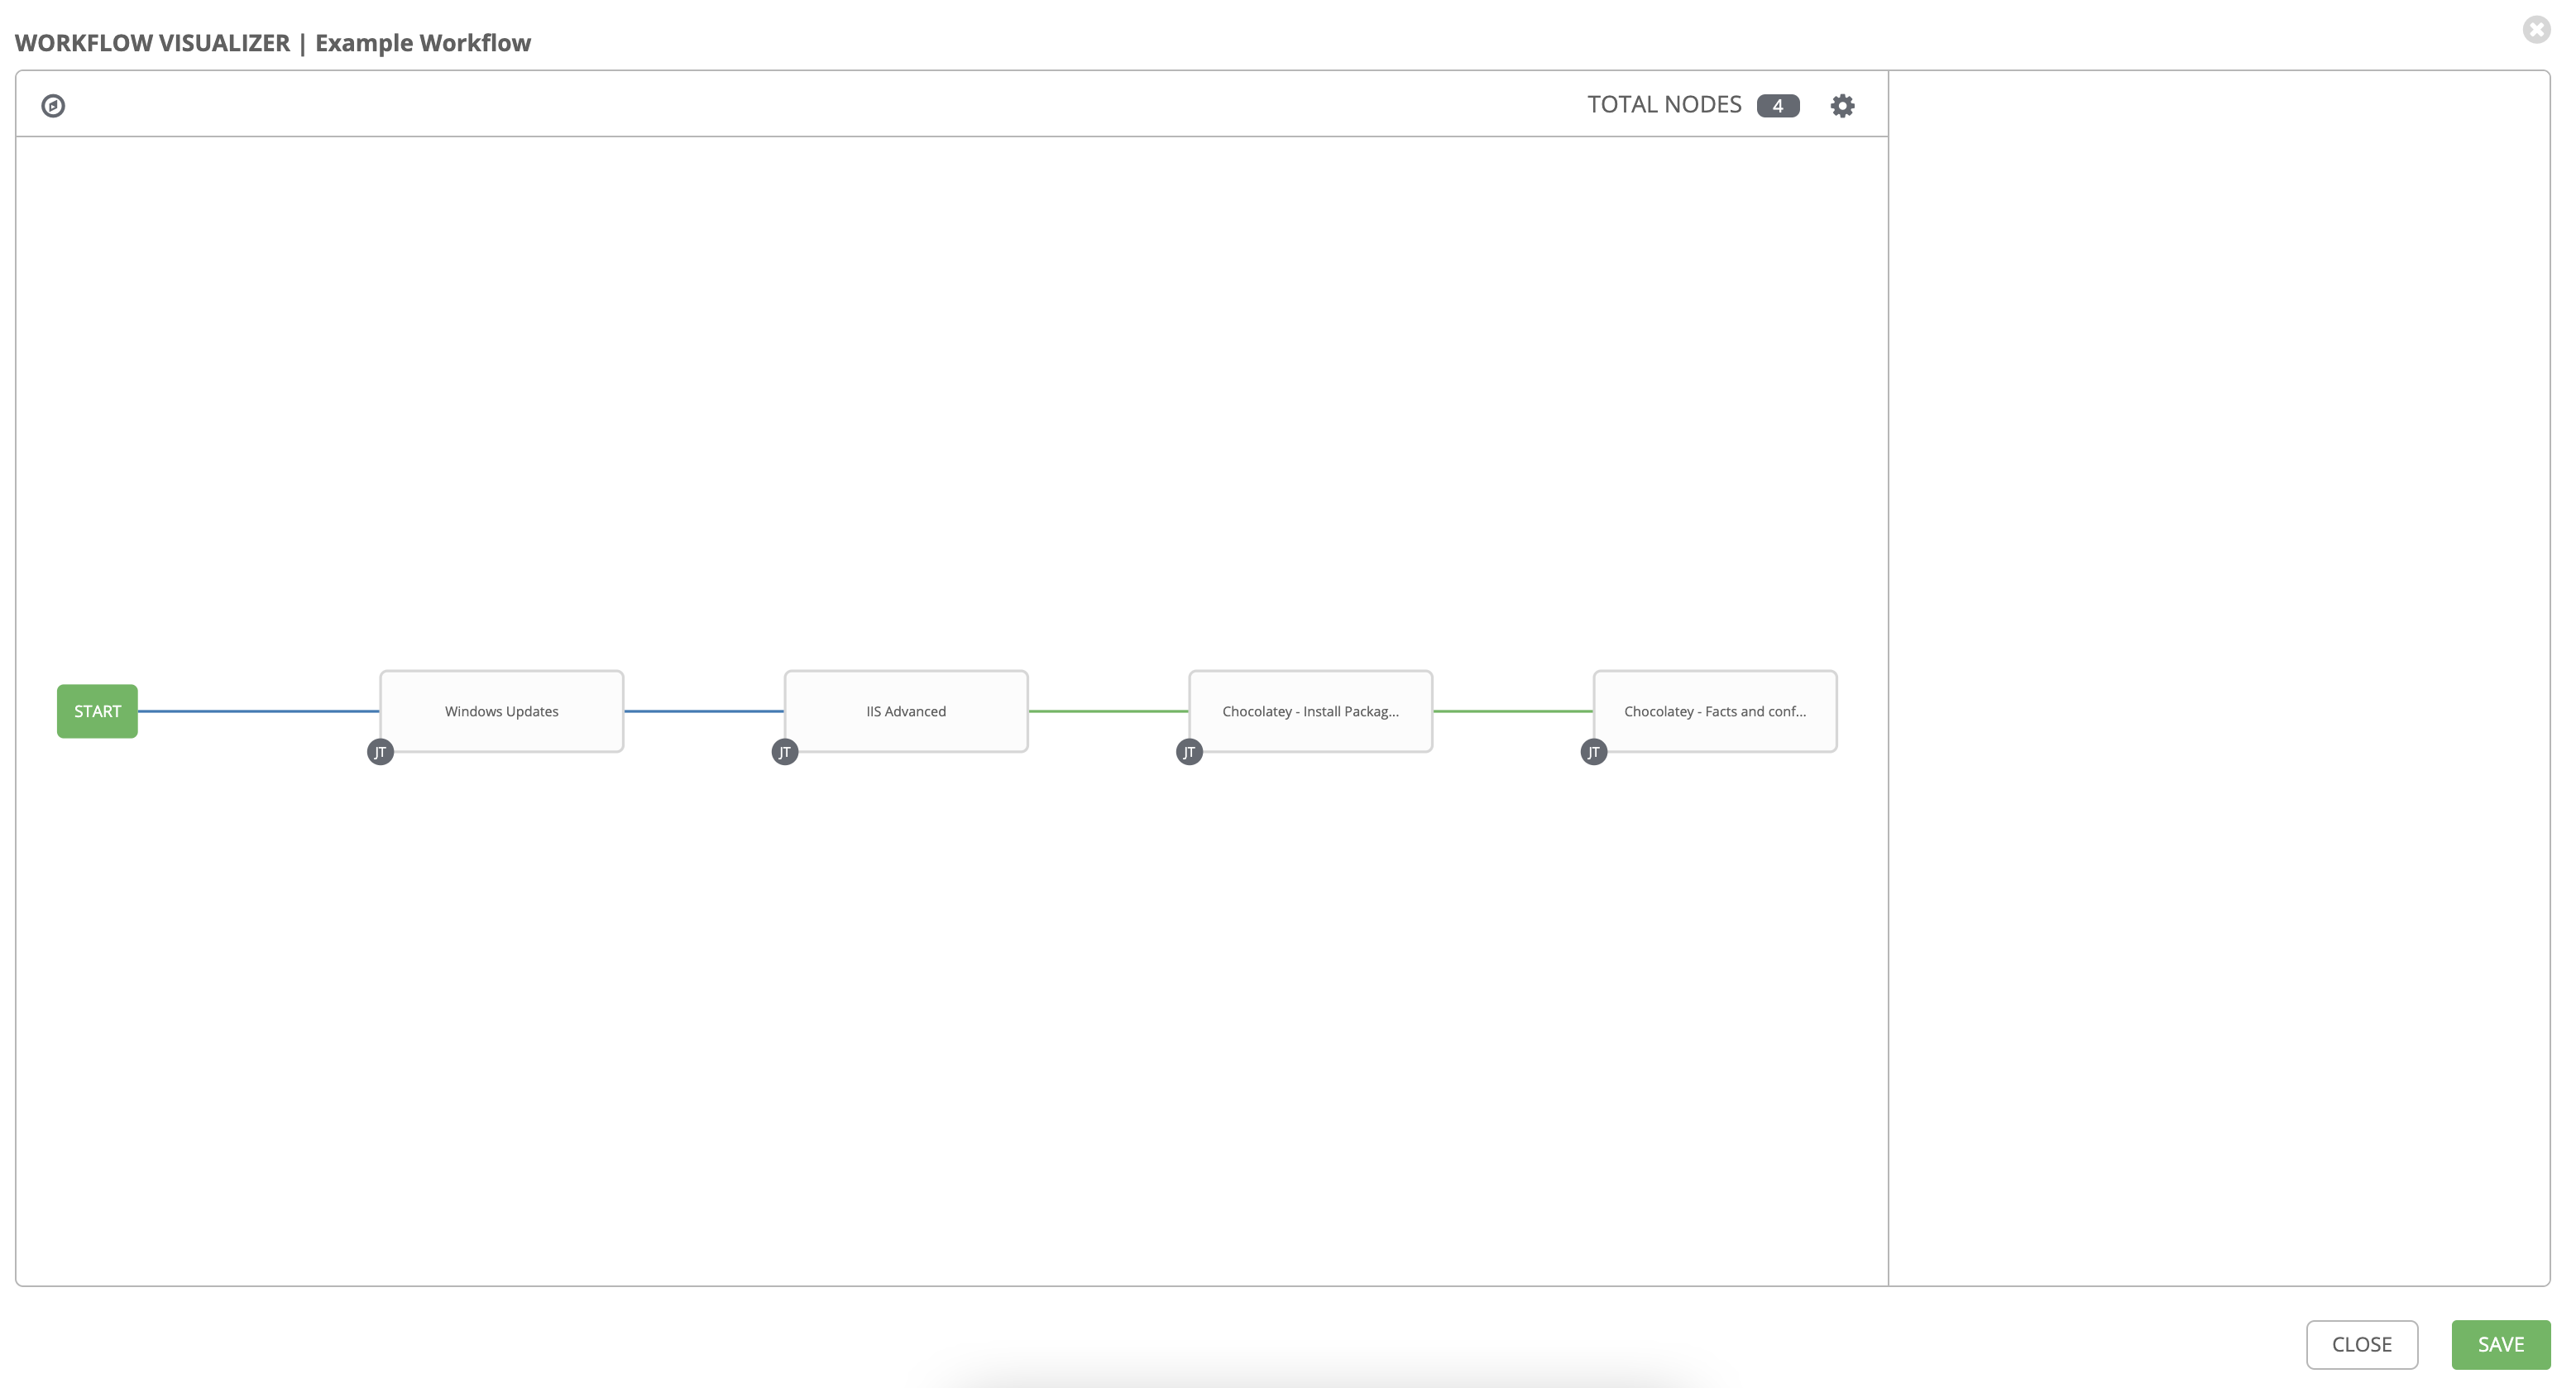
- Hover over Chocolatey – Install Packages, click the 3 dots and select Add step and link, select Chocolatey – Facts and configuration.
Set:
| Key | Value | Note |
|---|---|---|
| Node type | Job Template | |
| Job template | Chocolatey - Facts and configuration | |
| Status | Run on success | |
| Convergence | Any |
- Click Next → Finish.
- Click Save in the visualizer to save the workflow graph.
Section 2 — Run the Workflow
-
From the left navigation, go to Automation Execution → Templates.
-
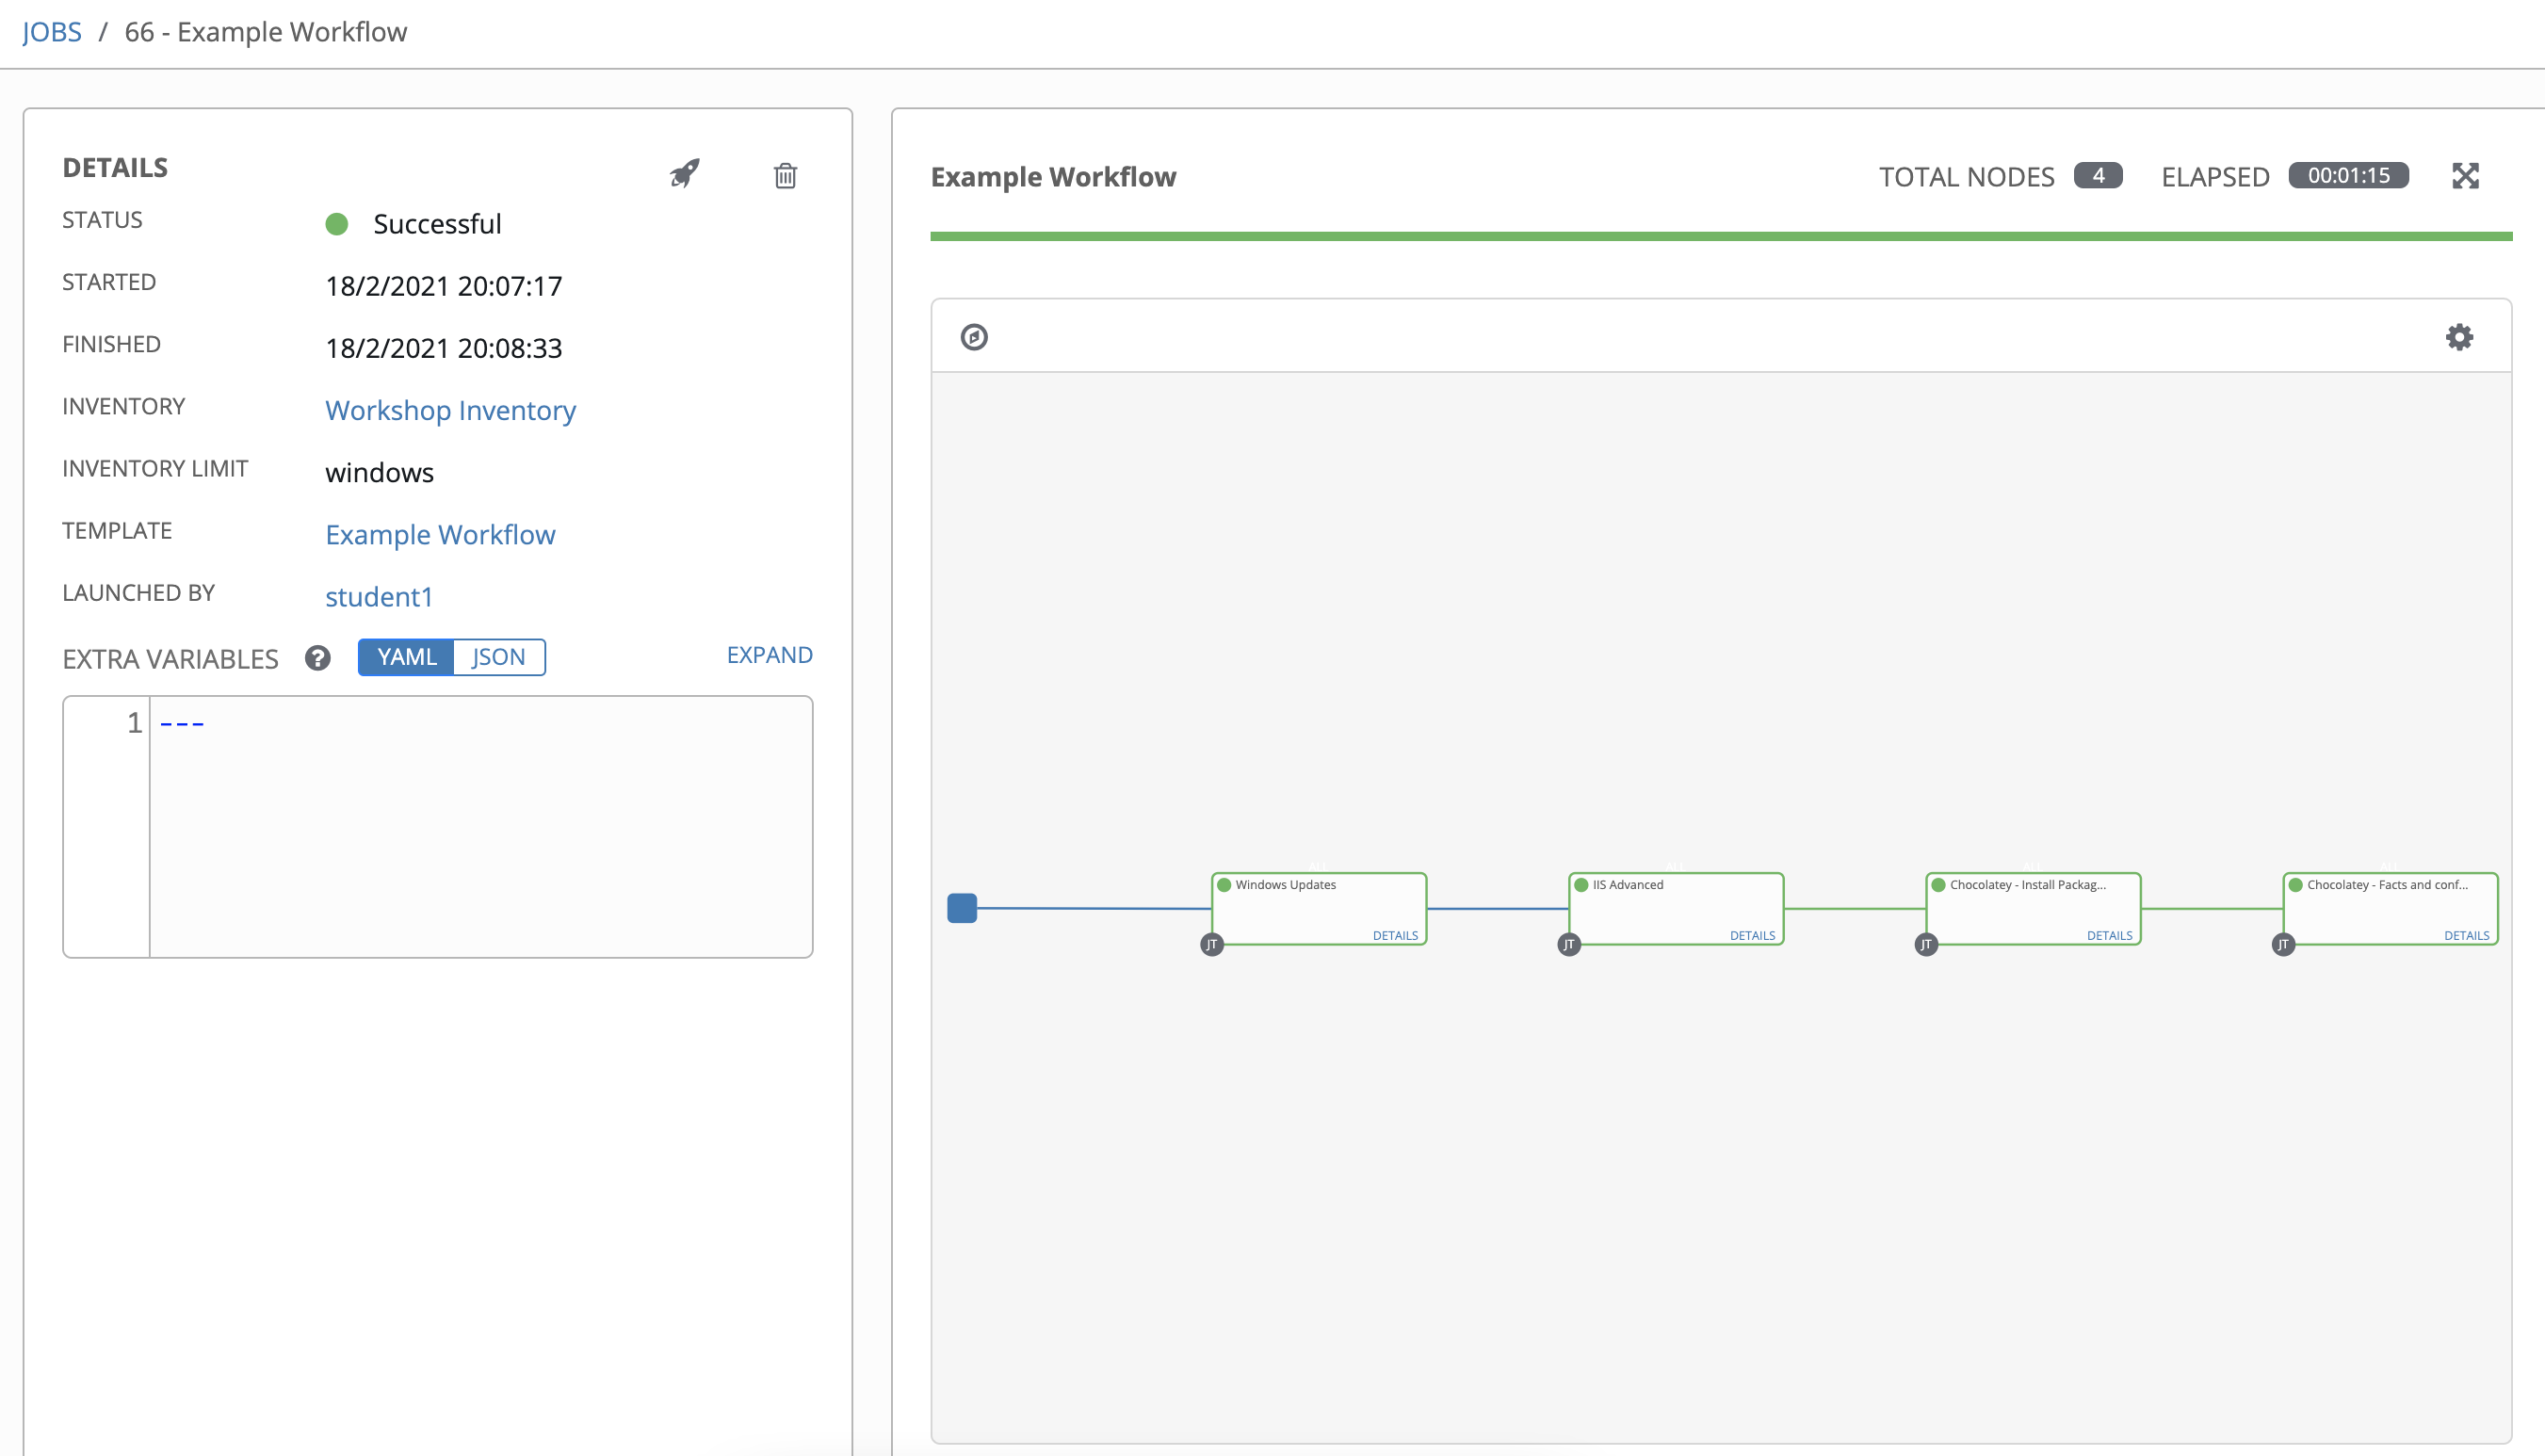
Click the rocket ship (Launch) icon for Example Workflow to start it. You can also open the workflow template and click Launch template from its details.
You’ll see real-time output for each node as the workflow runs.
If all goes well, your results will resemble: