Workshop Exercise - Run EL OS Conversion Jobs
Table of Contents
Objectives
- Use a workflow job template to create snapshots and start the conversions
- Learn about how the Convert2RHEL utility goes about converting CentOS to RHEL
Guide
We are ready to start the conversion phase of our CentOS to RHEL automation journey:

It is during this phase that the conversion playbooks are executed using a workflow job template. The first playbook clears yum cache in order to ensure that the maximum amount of space is available for the conversions process. The second playbook creates a snapshot that can be used for rolling back if anything goes wrong with the conversion. After the snapshot is created, the third playbook uses the Convert2RHEL utility to perform the conversion where the host is advanced to the new RHEL major version.
Step 1 - Launch the Conversion Workflow Job Template
We are about to start the CentOS conversion of our application servers. When the conversion is finished, the hosts will reboot under the newly converted RHEL major version.
Conversions typically take less than an hour, although they can run for longer if there are applications that shutdown slowly or with bare metal hosts that have a long reboot cycle. The cloud instances provisioned for our workshop lab environment will convert fairly quickly as they are very lightweight compared to traditional enterprise app servers.
One thing that’s needs to be taken care of first is to remove the snapshots that were taken prior to the analysis, as we will want to take fresh snapshots prior to launching the conversion workflow.
-
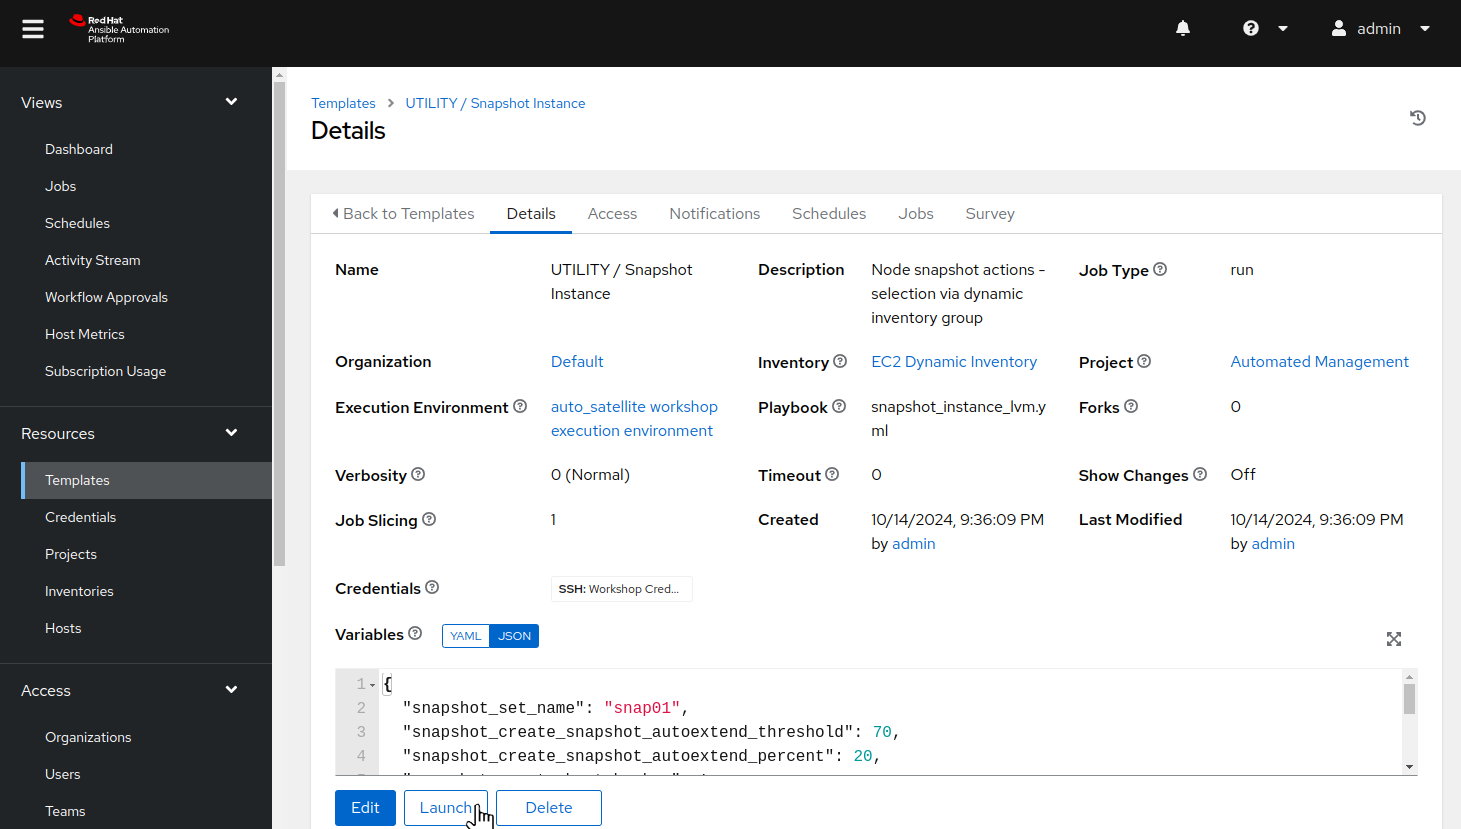
Return to the AAP Web UI tab in your web browser. Navigate to Resources > Templates and then open the “UTILITY / Snapshot Instance” job template. Here is what it looks like:
-
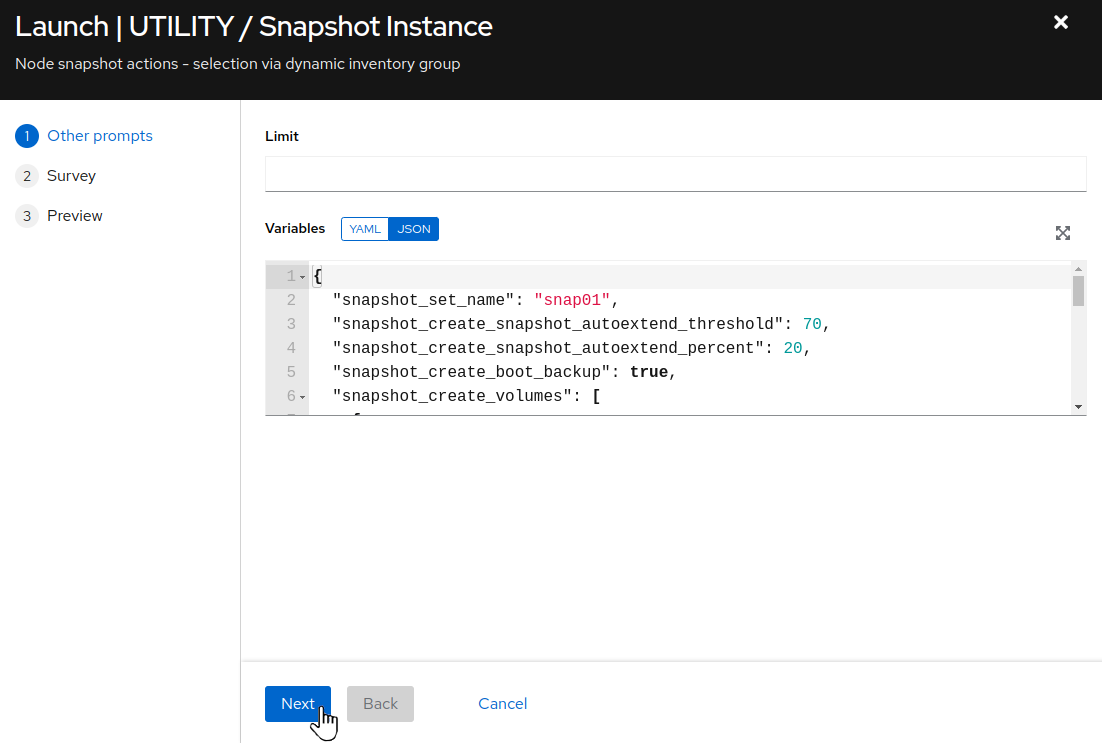
Click the “Launch” button which will bring up the prompts for submitting the job starting with the variables prompt:
-
We are going to remove snapshots from all of our CentOS application hosts using a single job, so we can leave the
Limitfield empty. We don’t need to change any of the variables settings, so click the “Next” button to move on.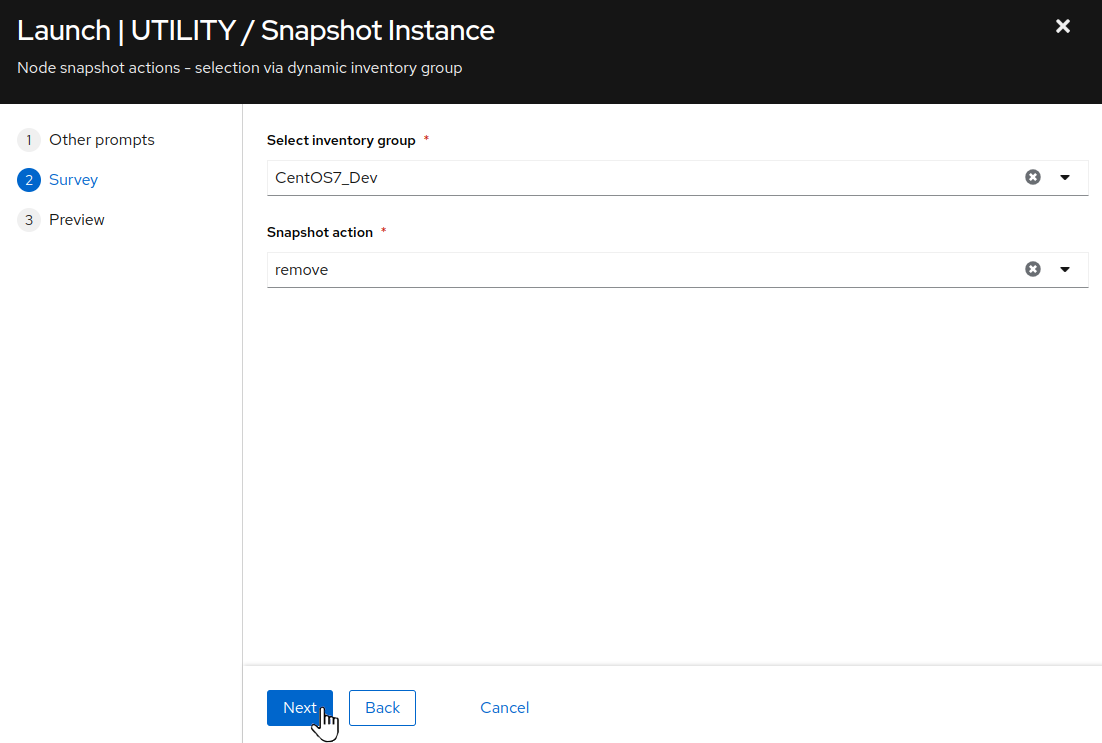
-
Next we see the job template survey prompt asking us to
Select inventory group. Choose theCentOS7_Devinventory group. For theSnapshot actionoption, we want to remove the existing snapshots from the analysis phase, so chooseremoveand click the “Next” button. This will bring you to a preview of the selected job options and variable settings.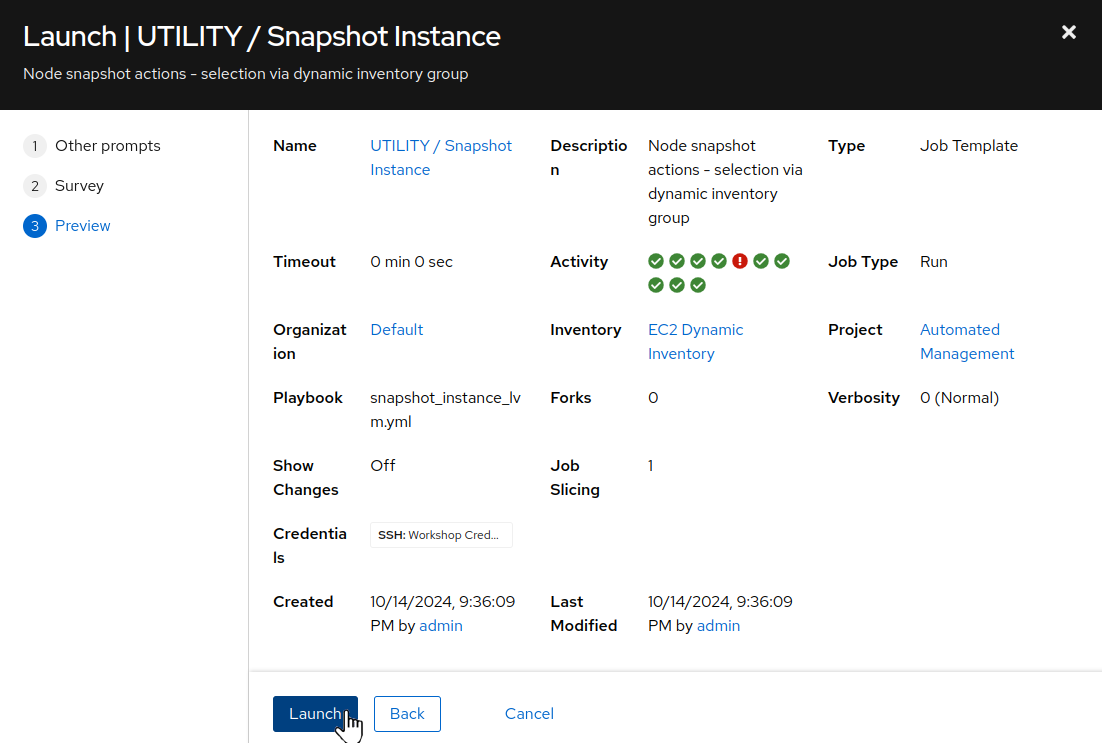
-
If you are satisfied with the job preview, use the “Launch” button to start the job.
-
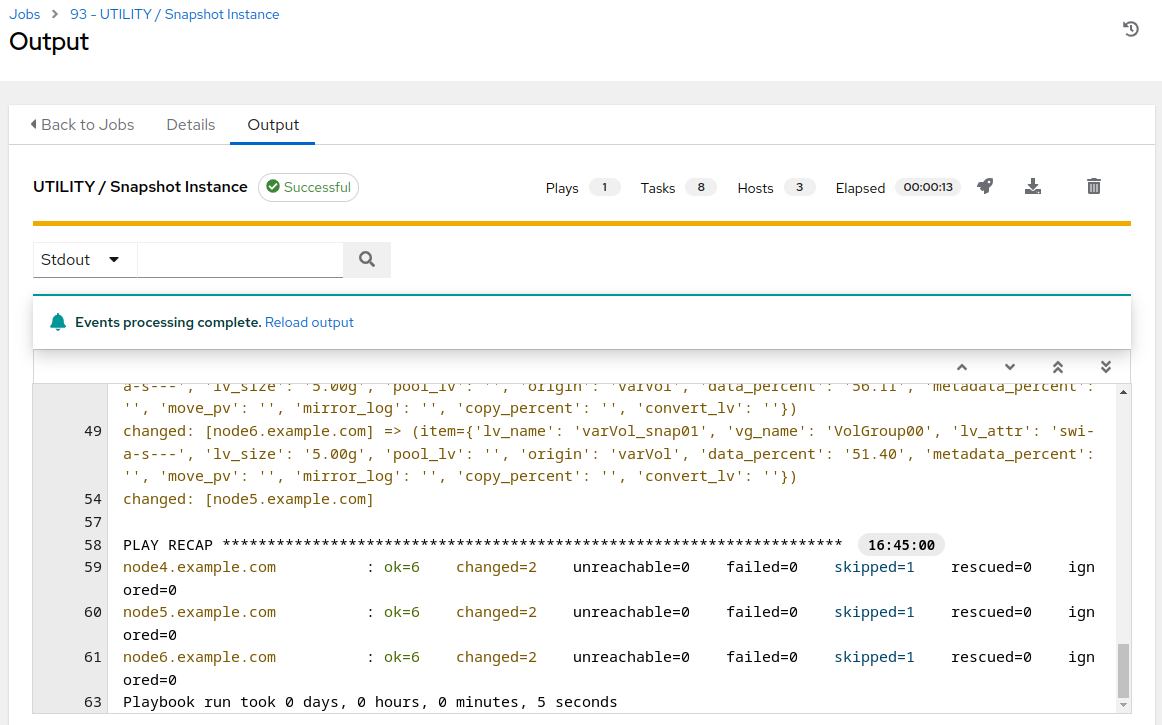
Verify that the snapshot removal job run was successful by reviewing the job output.
-
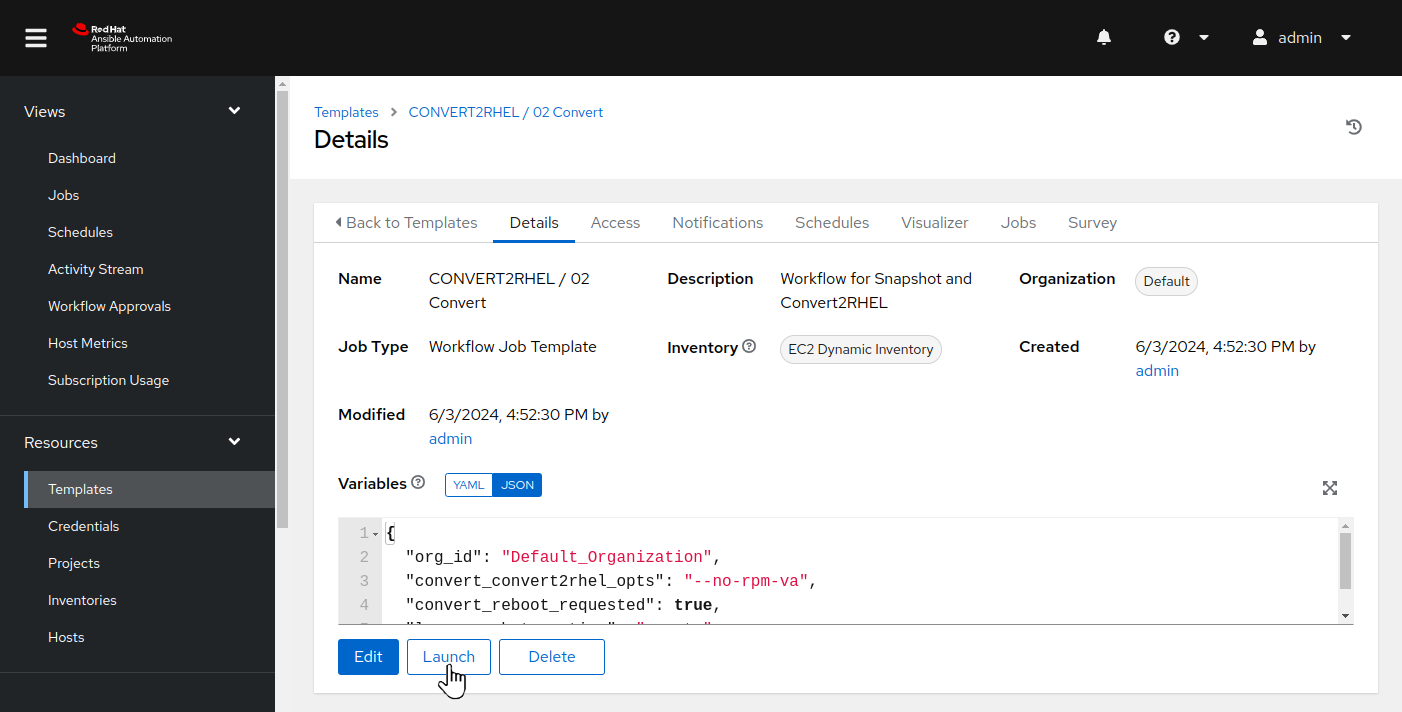
Continuing in the AAP Web UI, navigate to Resources > Templates and then open the “CONVERT2RHEL / 02 Convert” workflow template. Here is what it looks like:
-
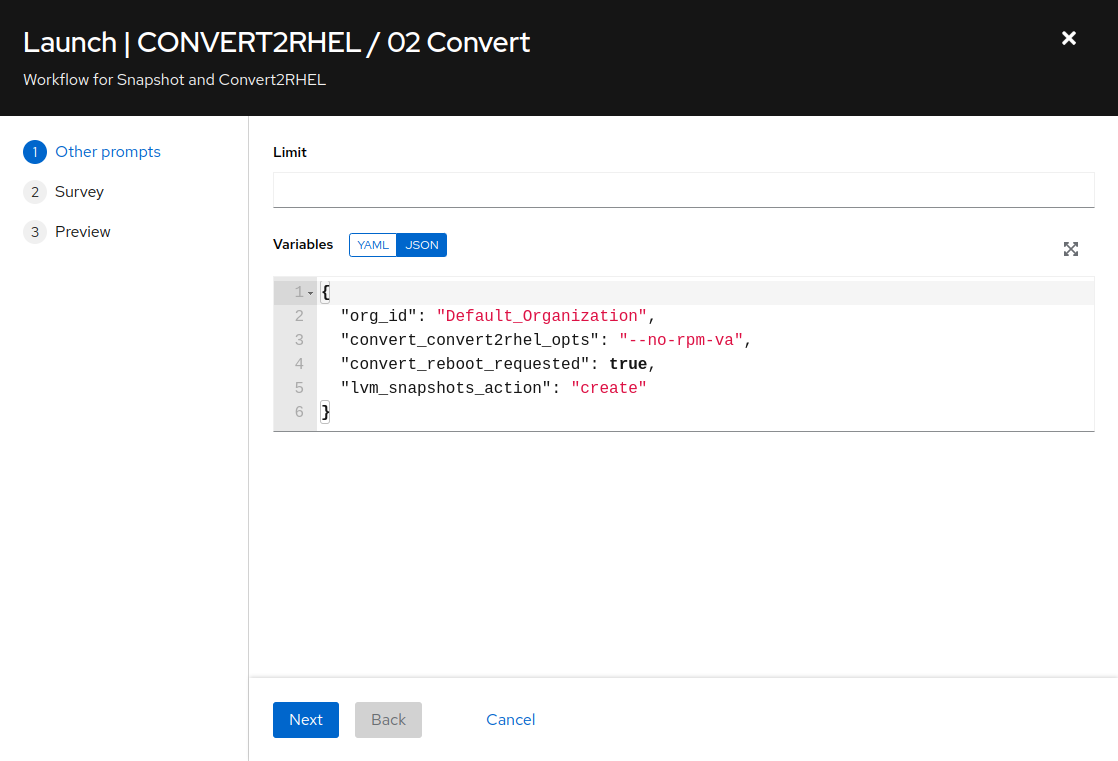
Click the “Launch” button which will bring up the prompts for submitting the job starting with the variables prompt:
-
We are going to convert all of our CentOS application hosts using a single job, so we can leave the
Limitfield empty. We don’t need to change any of the variables settings, so click the “Next” button to move on.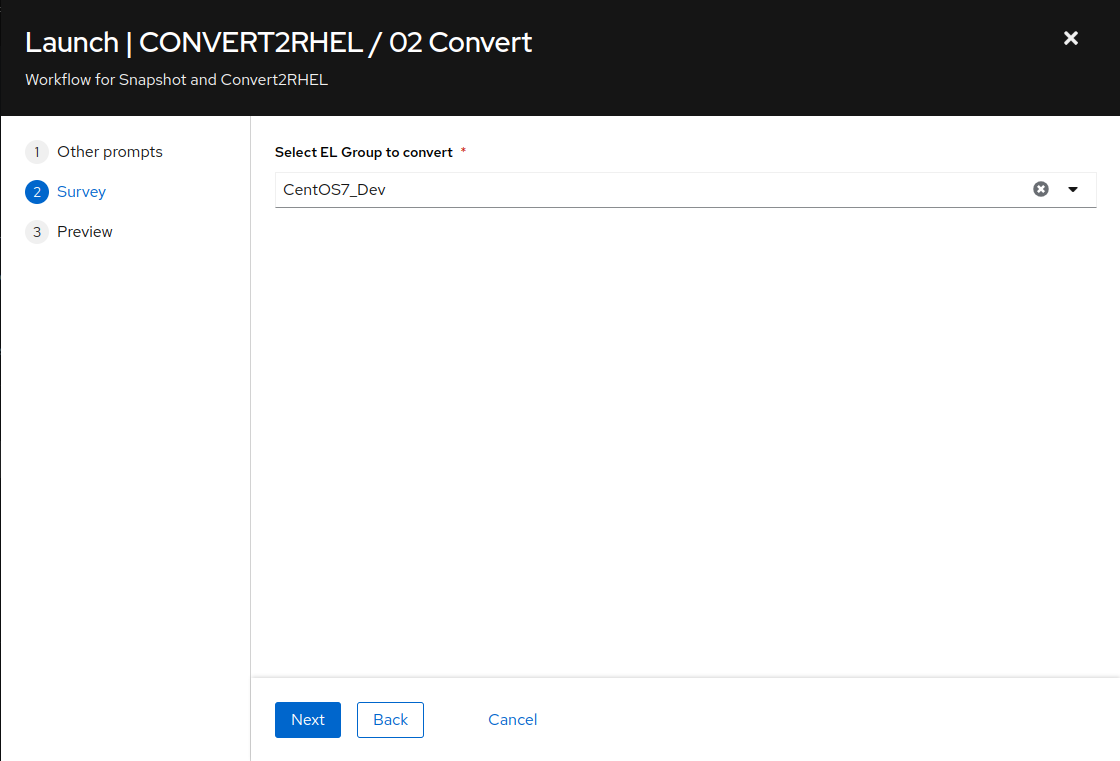
-
Next we see the job template survey prompt asking us to
Select EL Group to convert. Choose theCentOS7_Devinventory group and click the “Next” button. This will bring you to a preview of the selected job options and variable settings.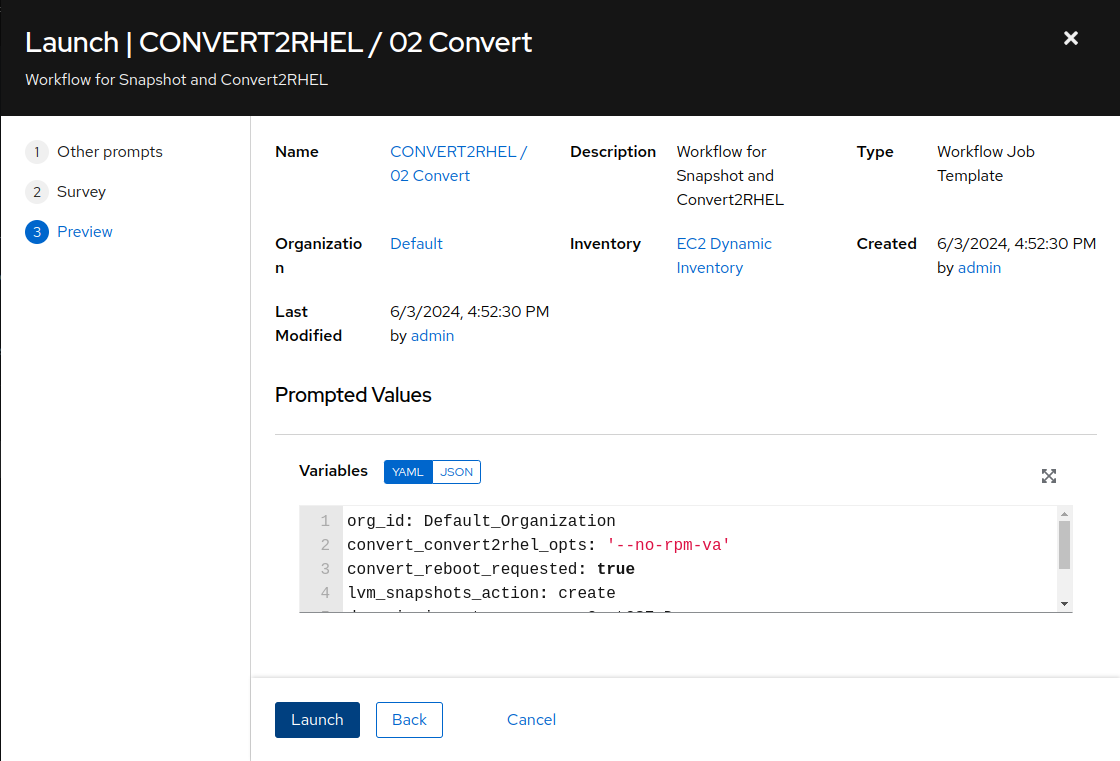
-
If you are satisfied with the job preview, use the “Launch” button to start the job.
Step 2 - Learn More About Convert2RHEL
After launching the conversion job, the AAP Web UI will navigate automatically to the workflow job output page of the job we just started. This job will take up to 20 minutes to finish, so let’s take this time to learn a little more about how the Convert2RHEL utility converts your EL OS to the associated RHEL major version.
- Keep in mind that the Convert2RHEL utility is responsible only for converting the CentOS packages. Additional tasks required for upgrading your standard agents, tools, middleware, etc., need to be included in the conversion playbooks you develop to deal with the specific requirements of your organization’s environment.
Conclusion
In this exercise, we launched a workflow job template to create snapshots and start the conversions of our CentOS app servers. We learned more about the Convert2RHEL utility to better understand what is happening as the CentOS systems are being converted.
In the next exercise, we’ll learn more about how snapshots work.
Navigation